Blender Studio
  • Films
  • Projects
  • Training
  • Assets
  • Blog
  • Community
  • Join
  • BLENDER.ORG

    • Download

      Get the latest Blender, older versions, or experimental builds.

    • What's New

      Stay up-to-date with the new features in the latest Blender releases.

    LEARNING & RESOURCES

    • Blender Studio

      Access production assets and knowledge from the open movies.

    • Manual

      Documentation on the usage and features in Blender.

    DEVELOPMENT

    • Developers Blog

      Latest development updates, by Blender developers.

    • Documentation

      Guidelines, release notes and development docs.

    • Benchmark

      A platform to collect and share results of the Blender Benchmark.

    • Blender Conference

      The yearly event that brings the community together.

    DONATE

    • Development Fund

      Support core development with a monthly contribution.

    • One-time Donations

      Perform a single donation with more payment options available.

Training Highlights
Facial Rigging
Blender Fundamentals 4.5 LTS
3D Printing with Blender
Video Log #6: Promo video

Training types
Course Documentation Production Lesson Worskhop

Training categories
Animation Geometry Nodes Lighting Rendering Rigging Shading
Film Highlights
Singularity
2025
Wing It!
2023
Spring
2019
Hero
2018
Project Highlights
Impulse Purchase
Showcase
Project Storm
Showcase
DogWalk
Showcase
Project Gold
Showcase
Assets Highlights
Characters
Models & rigs
Assets
All production files
Libraries
Curated sets
Course
Blender Fundamentals 4.5 LTS
First Steps
  1. Launching Blender Free
  2. Viewport Navigation Free
  3. Interface Overview Free
  4. Selecting & Transform Free
  5. Add, Duplicate & Delete Free
  6. Saving Free
  7. 3D Cursor Free
  8. Collections Free
  9. Workspaces Free
Modeling
  1. File Recovery Free
  2. Blender's Modes Free
  3. Adding Objects Free
  4. Mesh Selection Free
  5. Extruding Free
  6. Loop Cuts Free
  7. Knife Tool Free
  8. Bevel Tool Free
  9. Delete, Separate, Merge & Connect Free
Sculpting
UV Unwrapping
Rigging
Geometry Nodes
Shading
Lighting & Rendering
Project Workflow
Compositing
Video Editing
Extra's
  1. Helpful Resources Free
  2. Useful Addons Free
Modeling

Adding Objects

Beau Gerbrands
Beau Gerbrands Author
  • Free
Report Problem

In this section, we will learn about changing the parameters on new objects before starting to work on them.


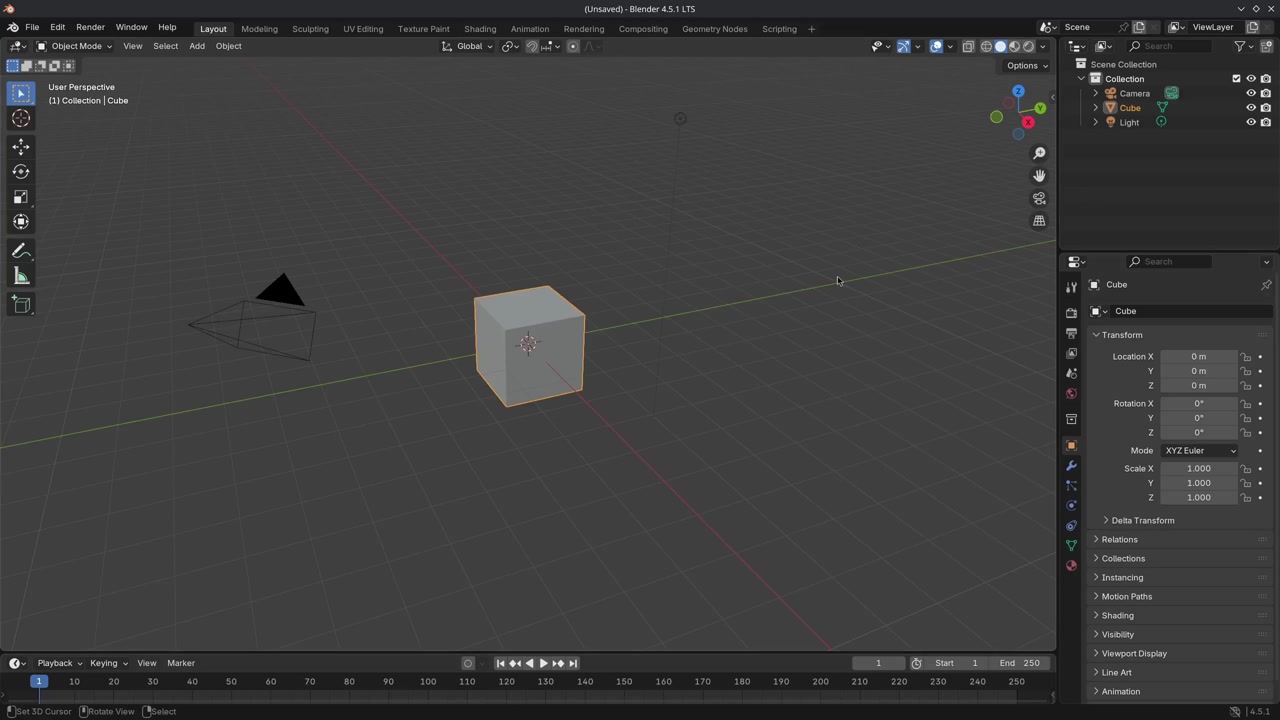
Open a new Blender File and select all A and delete the selection using X or Del.

Add a  Circle and at the bottom of the 3D Viewport is an "Operator" -panel to change different aspects of the mesh. We can change the number of vertices to easily create a "hex" shape.

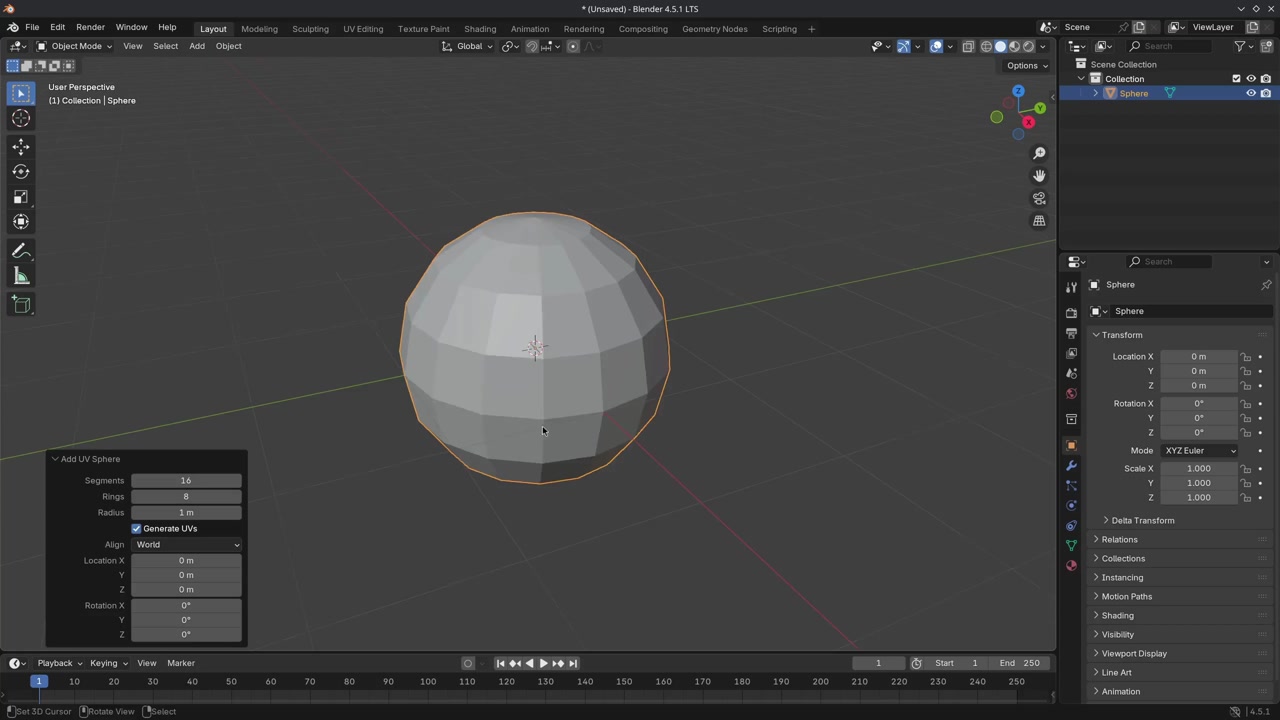
Delete the Circle and add a  UV Sphere. It has different parameters that we can change. We can type values manually instead of using the mouse. We can also do math inside of parameters to, for instance, divide the segments by 4 using 16/4 and Enter to confirm. Not only that, but we can also multiply using * by a certain value.

Delete the UV Sphere and add a  Cylinder where the "Cap Fill type" can be changed. To see the result of this change, you can activate Wireframe in the Viewport Overlay. A "Triangle Fan" fills the hole using triangles pointing towards the center.

There is a difference between adding objects in  Object Mode or in  Edit Mode:

  • Adding objects in  Object Mode creates its own mesh data
  • Adding objects in  Edit Mode will add the object as mesh data to the existing one and become part of the entire object.

Warning

When adding an object, it is important not to execute another operator or function (by moving, rotating, or scaling the object, for example). This will remove the previous operator settings or change them to the new one just used.

When using an operator, it will create a small panel with parameters before working on them, It is better to change the scale, radius, and other parameters this way before starting to work. It is recommended to add various objects and learn how to adjust them before working on the object in  Edit Mode.


That was the end of the lesson. We have learned:

  • That we can change different aspects of the object using the operator panel.

Join to leave a comment.

Films Projects Training Blog
Characters
  • Storm
  • Mikassa
  • Whale
  • Ballan Wrasse
Studio
  • Terms & Conditions
  • Privacy Policy
  • Contact
  • Remixing Music
  • blender.org
Blender Studio

The creators who share.

Artistic freedom starts with Blender powered by CG Global Entertainment Ltd.
粤ICP备2024327355号-3