Interface Overview

- Free
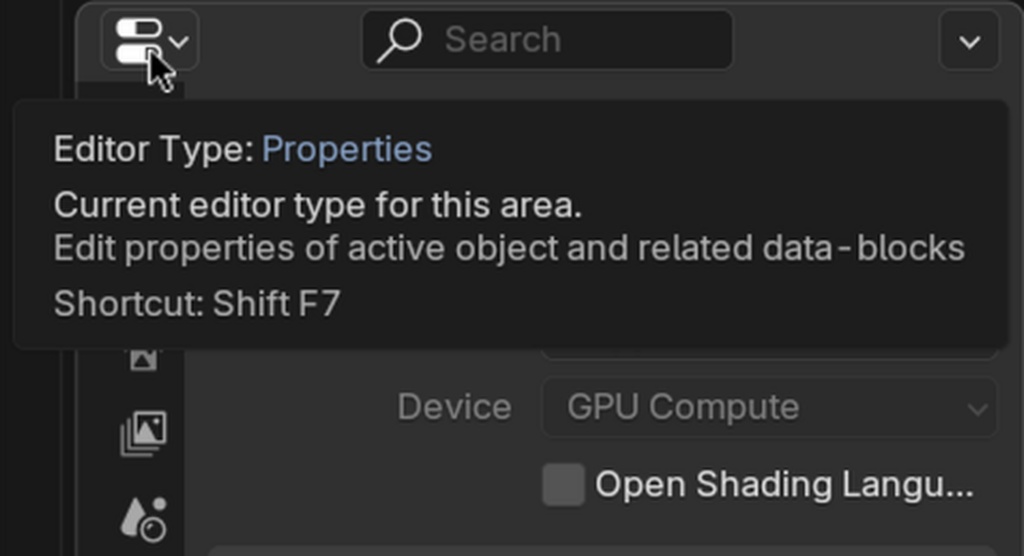
In this section, we will become more familiar with the interface, specifically the 3D Viewport, Viewport Overlays, the Outliner, and the Properties. If you forget how a specific element of the interface is called, you can hover your cursor above it, and it will show a tooltip with the name and description.
Let's open Blender. The first thing you will probably notice is the grid, a cube, a lamp, and a camera. The grid is always located at 0 or the floor level. This part of the interface is called the 3D Viewport and is the most common editor in Blender.
The red and green lines are the X (red) and Y (green) axes, respectively. The Z axis is blue, which can be seen from this Navigation Gizmo. Holding the LMB on the Navigation Gizmo allows you to orient the 3D view, try it out!
The colored axes X = red, Y = green, and Z = blue.
A gizmo or widget is a way to interact with a tool; you can see it as the steering wheel of a car, by turning the wheel you rotate the front wheels.
Next is the Header, which contains menus, tools, and 3D Viewport options.

What does the Header specifically contain?
Let's start from left to right:
- Editor Type allows you to change the entire 3D Viewport window to another area
- Interaction Mode, which is currently set to Object Mode, which can be changed to multiple modes depending on the object type
- Next to those are the View, Select, Add & Object menu's. Here you can find all the functionalities for the 3D Viewport. If you can't remember certain shortcuts, you can find the functionalities here. These menus will change based on the current mode.
Viewport Transformation Options
- Transform Orientation allows to manipulate objects based on their orientation (Global is default)
- Transform Pivot Point determines from which point in space you are transforming the object (such as the 3D cursor)
- Snap (toggle) & Snapping allows to instantly place the selection on snap Targets, this can be on other objects or the object itself.
- Proportional Editing Objects (toggle) & Proportional Editing Falloff allows manipulating multiple objects or mesh elements during the same operation based on a falloff
Viewport Selection & Visibility Options
- Selectability & Visibility (un)check the selectability or visibility of various object types
- Show Gizmo (toggle) & Viewport Gizmos or disable any gizmo by using the toggle
- Show Overlays (toggle) & Overlays enable or disable certain viewport overlays (like the grid) or disable all overlays to view the scene easier
- X-ray toggle to see through objects
- Viewport Shading options with a drop-down menu allow the viewport to display various shading modes for convenience. The toggles are a quick way to switch between wireframe or viewport shading, for instance
The other three windows are the Outliner (top right), the Properties window (bottom right), and the Timeline (bottom, not shown in the image).
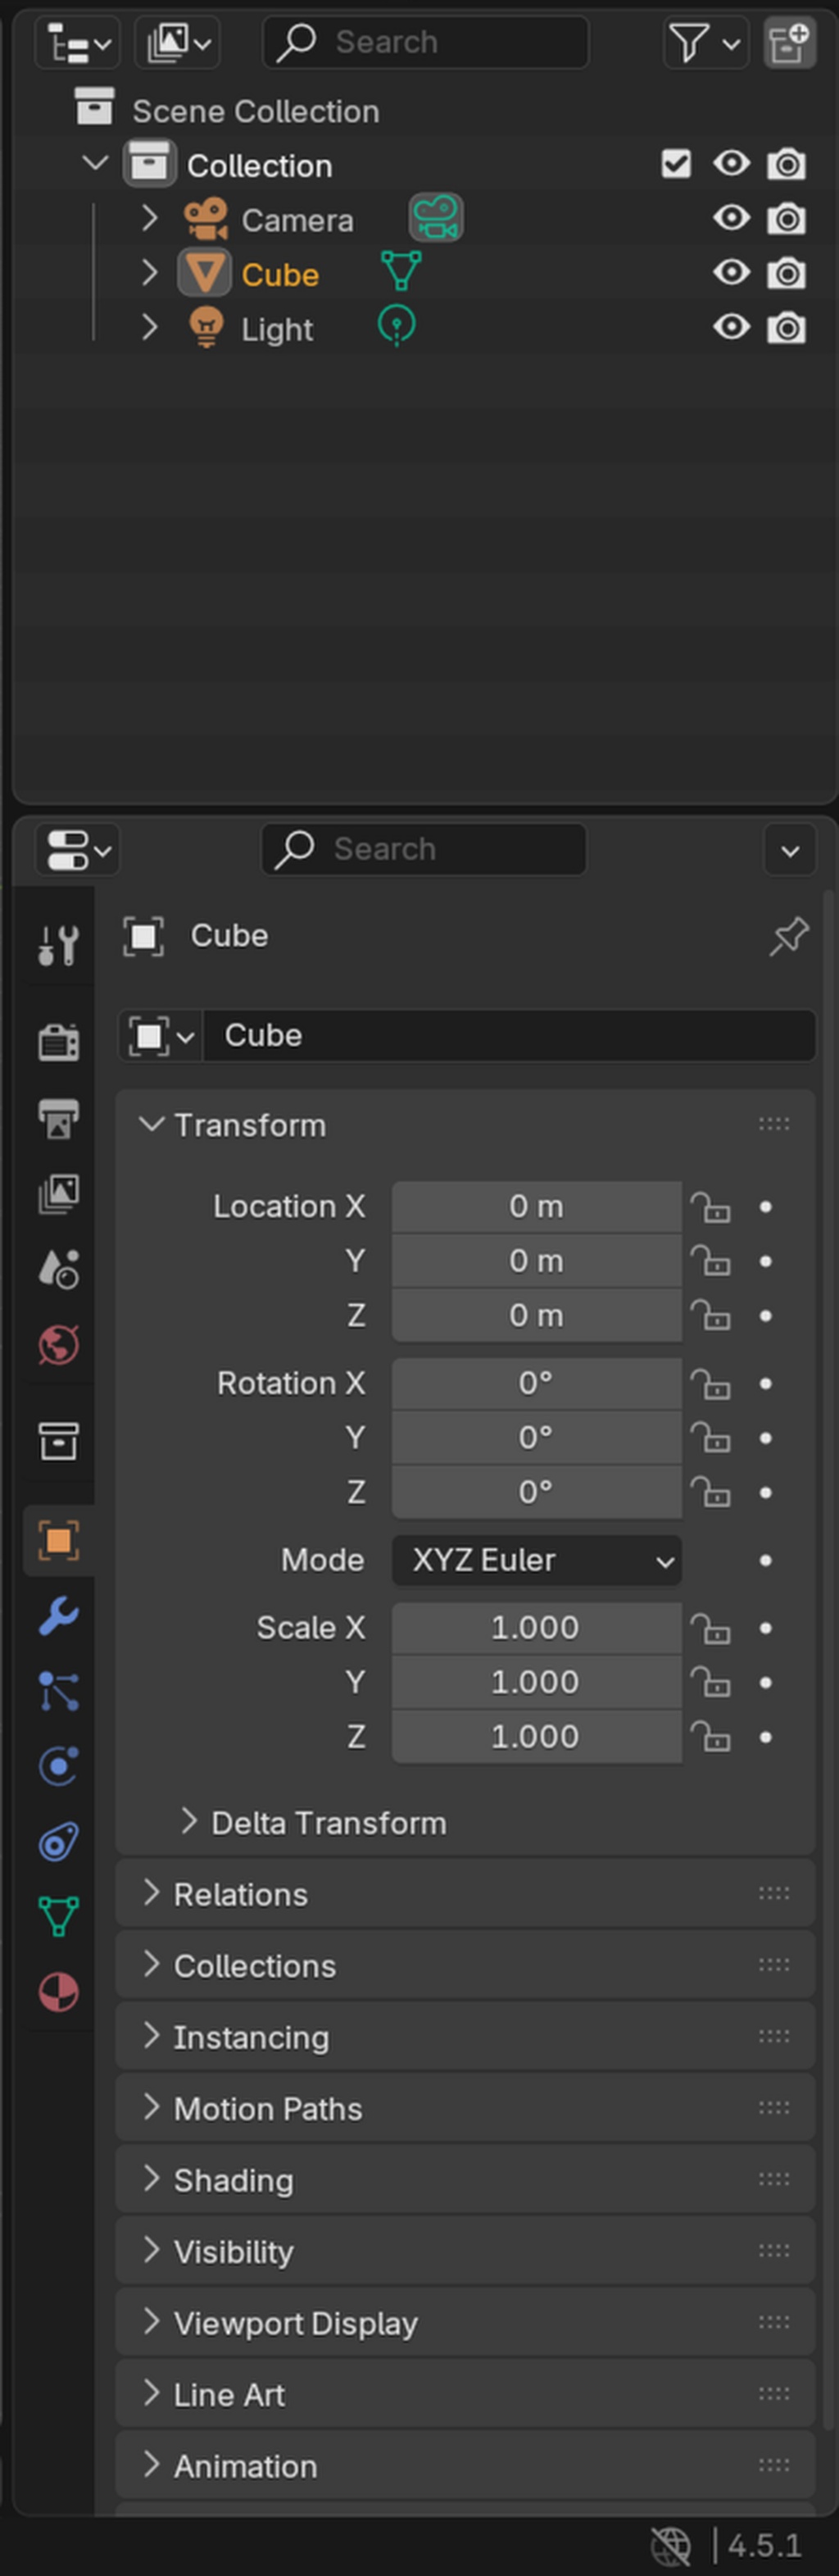
- The Outliner is where you organize your scene into Collections, which can be seen as folders to store files and will be discussed later in this chapter. It currently has three items.
- The Properties window allows you to change scene, object, material, render, light settings, add modifiers, and much more. This is why the Properties window is important.
- The Timeline shows any keyframes (animation points that have data) and allows you to scrub through time.
Let's go back to the 3D Viewport. Two important interface "regions" can be opened. We first open the Toolbar.
Place your mouse inside the 3D Viewport -- this is important because Blender works based on context to know which functions to run -- and use the T to open (or close) the Toolbar. The Toolbar is also context-sensitive based on what mode you are in (we are in Object Mode.
At the bottom of the Toolbar, you can use the " Add Cube" tool. Notice how your mouse now has a circle and a highlighted grid when you move the cursor across the grid.
Holding your LMB and dragging a rectangular shape (creating a yellow shape). If you let go of the LMB, you can decide the height of the cube. Pressing the LMB again will confirm the operation. Notice how there is a new object in the Outliner called "Cube".
Using T to open the Toolbar and use the Add Cube -tool.
The next is the Sidebar N that displays the Item, Tool, and View tabs (and many more depending on installed addons).
Using N to open the Sidebar and change parameters.
If you go to Item, you can view the location, rotation, scale, and overall dimensions of the object. These parameters are read and write, so you can change the scale of the cube afterward, this way. You can use LMB and drag above any parameter to change it.
Select the Tool tab, now you should see the Add Cube Active Tool settings that can be changed here, and more settings.
The last tab is the View tab, where we can change the Focal Length (how wide or flat the 3D Viewport is) just like a camera. Try and set it to 35 by clicking once with the LMB on the parameter and typing the value in.
A thing to keep in mind is that Blender allows the user to change the order and size of the UI in many different ways.
You can:
- Scale elements in a single editor using
Ctrl + MMBdrag - Re-order the individual tabs by using the row of dots to drag the order
- Collapse tabs by clicking on the arrow (or by using
A) - Drag regions inside the other editor to occupy more space
Back to the 3D Viewport, you might have noticed a circle with a white and red checker pattern with black lines. This is called the 3D Cursor and is an essential tool in Blender to specify the location or sometimes rotation for certain operations. We will talk about the 3D Cursor later on in this chapter. The 3D Cursor is:
- Telling Blender where to add objects
- Integral part of the general Blender workflow
- Can be hidden but not deleted
- Won't be visible in the final render
The last section of this lesson is about the interface elements that are always visible regardless of which mode or workspace you are in.
In the top left corner are menus that give access to fundamental functionalities in Blender comparable to other software. Here you can Save or Open files, Undo or Redo, Render, manage Windows, or go to the Help menu if you want to quickly visit the Blender Manual.
And the bar at the bottom that displays information about the Blender scene or current operation. The bar should be black except for the version number in the bottom right corner.
That was the end of the lesson. We have learned:
- That the X (red), Y (green), and Z (blue) are the axes in Blender.
- What a gizmo is.
- Blender works context based, only by hovering the cursor in the right window will operations work.
- To hover above buttons, parameters, and more elements to read the name and description.
- What the header of the editor (3D Viewport) contains, including menus, transformation options, selectability and visibility options, viewport overlays, and more is.
- How the Outliner and Properties window look.
- How the Toolbar and Sidebar are used.
- How to use the Add Cube Tool.
- Blender's UI is flexible and can be rearranged.
- About the 3D Cursor.
- The fundamental or permanent menus.
Join to leave a comment.