Blender Studio
  • Films
  • Projects
  • Training
  • Assets
  • Blog
  • Community
  • Join
  • BLENDER.ORG

    • Download

      Get the latest Blender, older versions, or experimental builds.

    • What's New

      Stay up-to-date with the new features in the latest Blender releases.

    LEARNING & RESOURCES

    • Blender Studio

      Access production assets and knowledge from the open movies.

    • Manual

      Documentation on the usage and features in Blender.

    DEVELOPMENT

    • Developers Blog

      Latest development updates, by Blender developers.

    • Documentation

      Guidelines, release notes and development docs.

    • Benchmark

      A platform to collect and share results of the Blender Benchmark.

    • Blender Conference

      The yearly event that brings the community together.

    DONATE

    • Development Fund

      Support core development with a monthly contribution.

    • One-time Donations

      Perform a single donation with more payment options available.

Training Highlights
Facial Rigging
Blender Fundamentals 4.5 LTS
3D Printing with Blender
Video Log #6: Promo video

Training types
Course Documentation Production Lesson Worskhop

Training categories
Animation Geometry Nodes Lighting Rendering Rigging Shading
Film Highlights
Singularity
2025
Wing It!
2023
Spring
2019
Hero
2018
Project Highlights
Impulse Purchase
Showcase
Project Storm
Showcase
DogWalk
Showcase
Project Gold
Showcase
Assets Highlights
Characters
Models & rigs
Assets
All production files
Libraries
Curated sets
Course
Blender Fundamentals 4.5 LTS
First Steps
  1. Launching Blender Free
  2. Viewport Navigation Free
  3. Interface Overview Free
  4. Selecting & Transform Free
  5. Add, Duplicate & Delete Free
  6. Saving Free
  7. 3D Cursor Free
  8. Collections Free
  9. Workspaces Free
Modeling
  1. File Recovery Free
  2. Blender's Modes Free
  3. Adding Objects Free
  4. Mesh Selection Free
  5. Extruding Free
  6. Loop Cuts Free
  7. Knife Tool Free
  8. Bevel Tool Free
  9. Delete, Separate, Merge & Connect Free
Sculpting
UV Unwrapping
Rigging
Geometry Nodes
Shading
Lighting & Rendering
Project Workflow
Compositing
Video Editing
Extra's
  1. Helpful Resources Free
  2. Useful Addons Free
Modeling

Knife Tool

Beau Gerbrands
Beau Gerbrands Author
  • Free
Report Problem

In this section, we will learn how to add more local cuts with the Knife Topology Tool and some of its functions. This tool is useful to immediately change the topology of the mesh to quickly extrude shapes, it is like carving wood with a knife but on a mesh level.


Warning

Before we start, there is actually a difference between an Operator and a Tool in Blender. They are:

  • A Tool is an "active" tool used from the Toolbar and can be opened using T.
  • An Operator is the functionality comparable to a tool but doesn't make it the active tool. We are using the "non-active" knife operator in this section and most of the course. Even though we call it the Knife Topology Tool, it is actually the Knife operator.

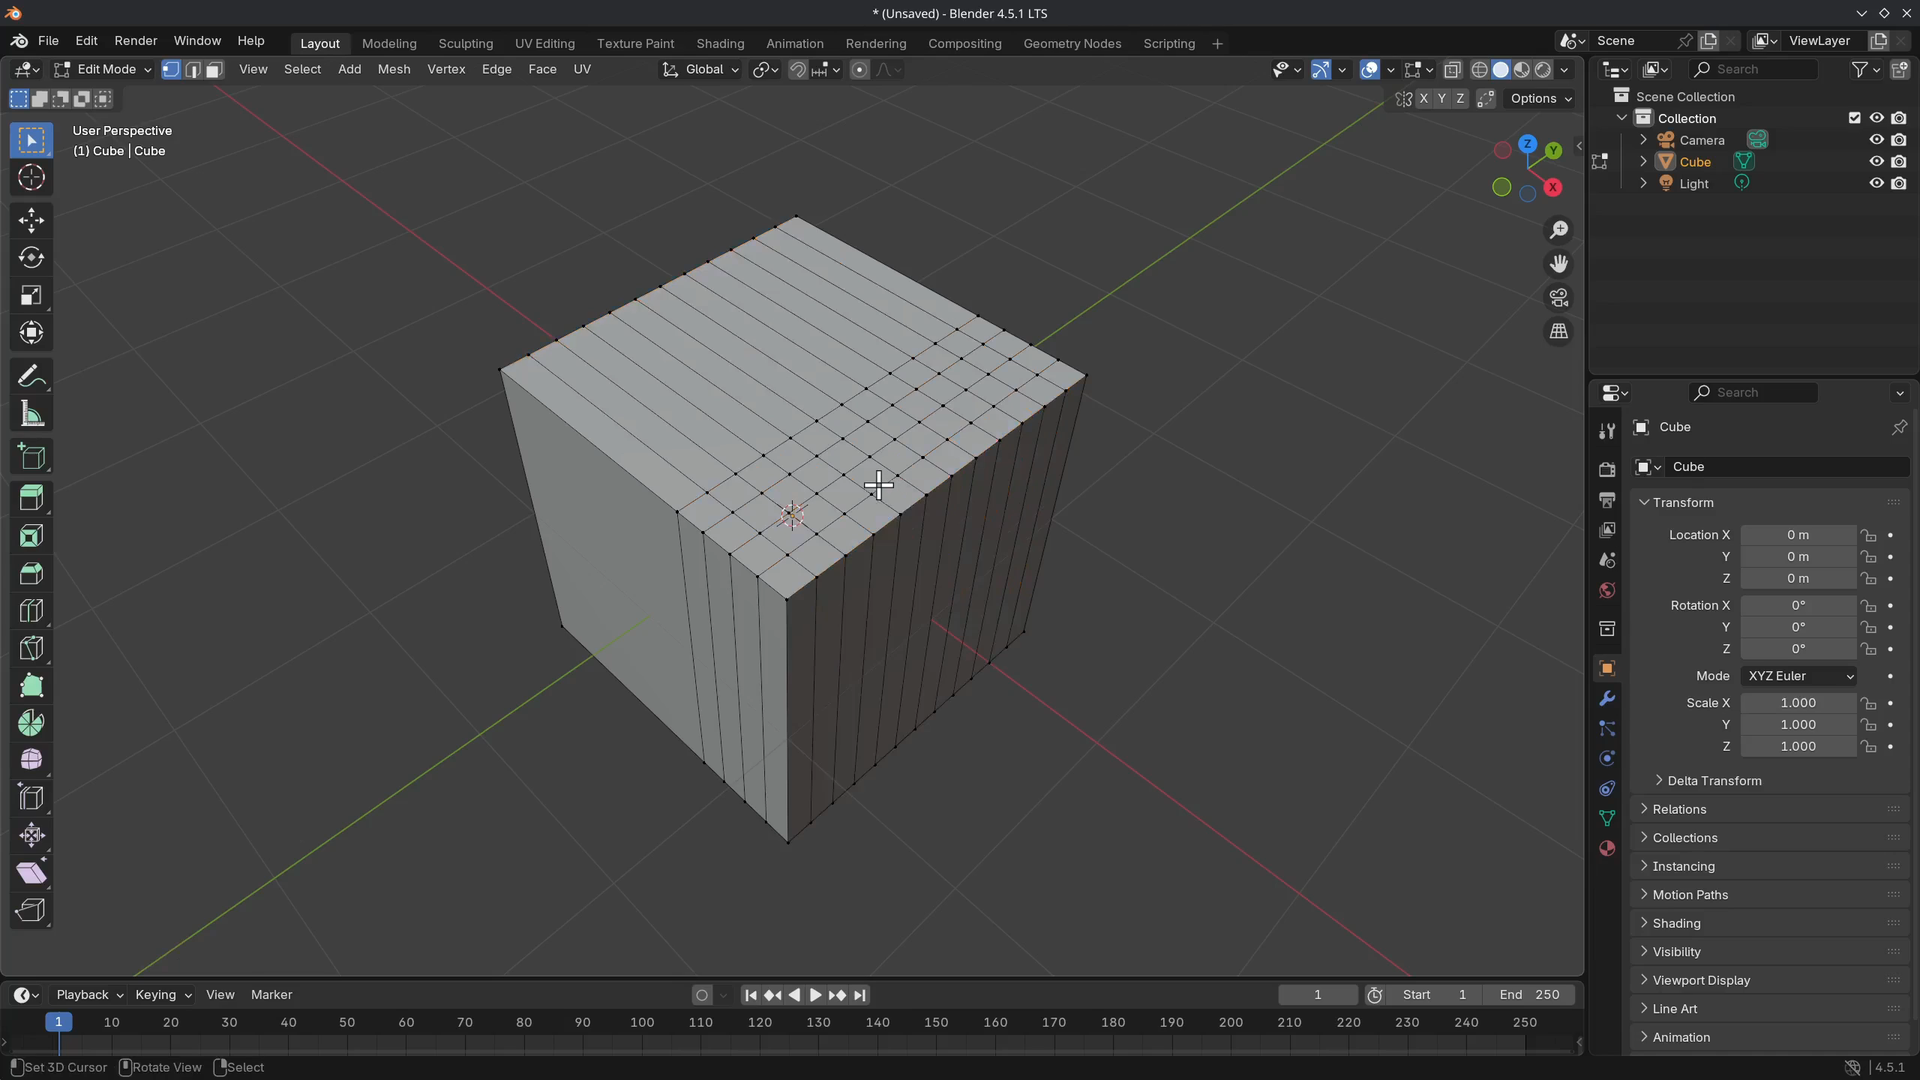
Open a new Blender File and enter  Edit Mode on the default cube in the scene.

Add a few loop cuts similar to the image below (Ctrl + R) and use the Wheel or Numpad + to add more loops.

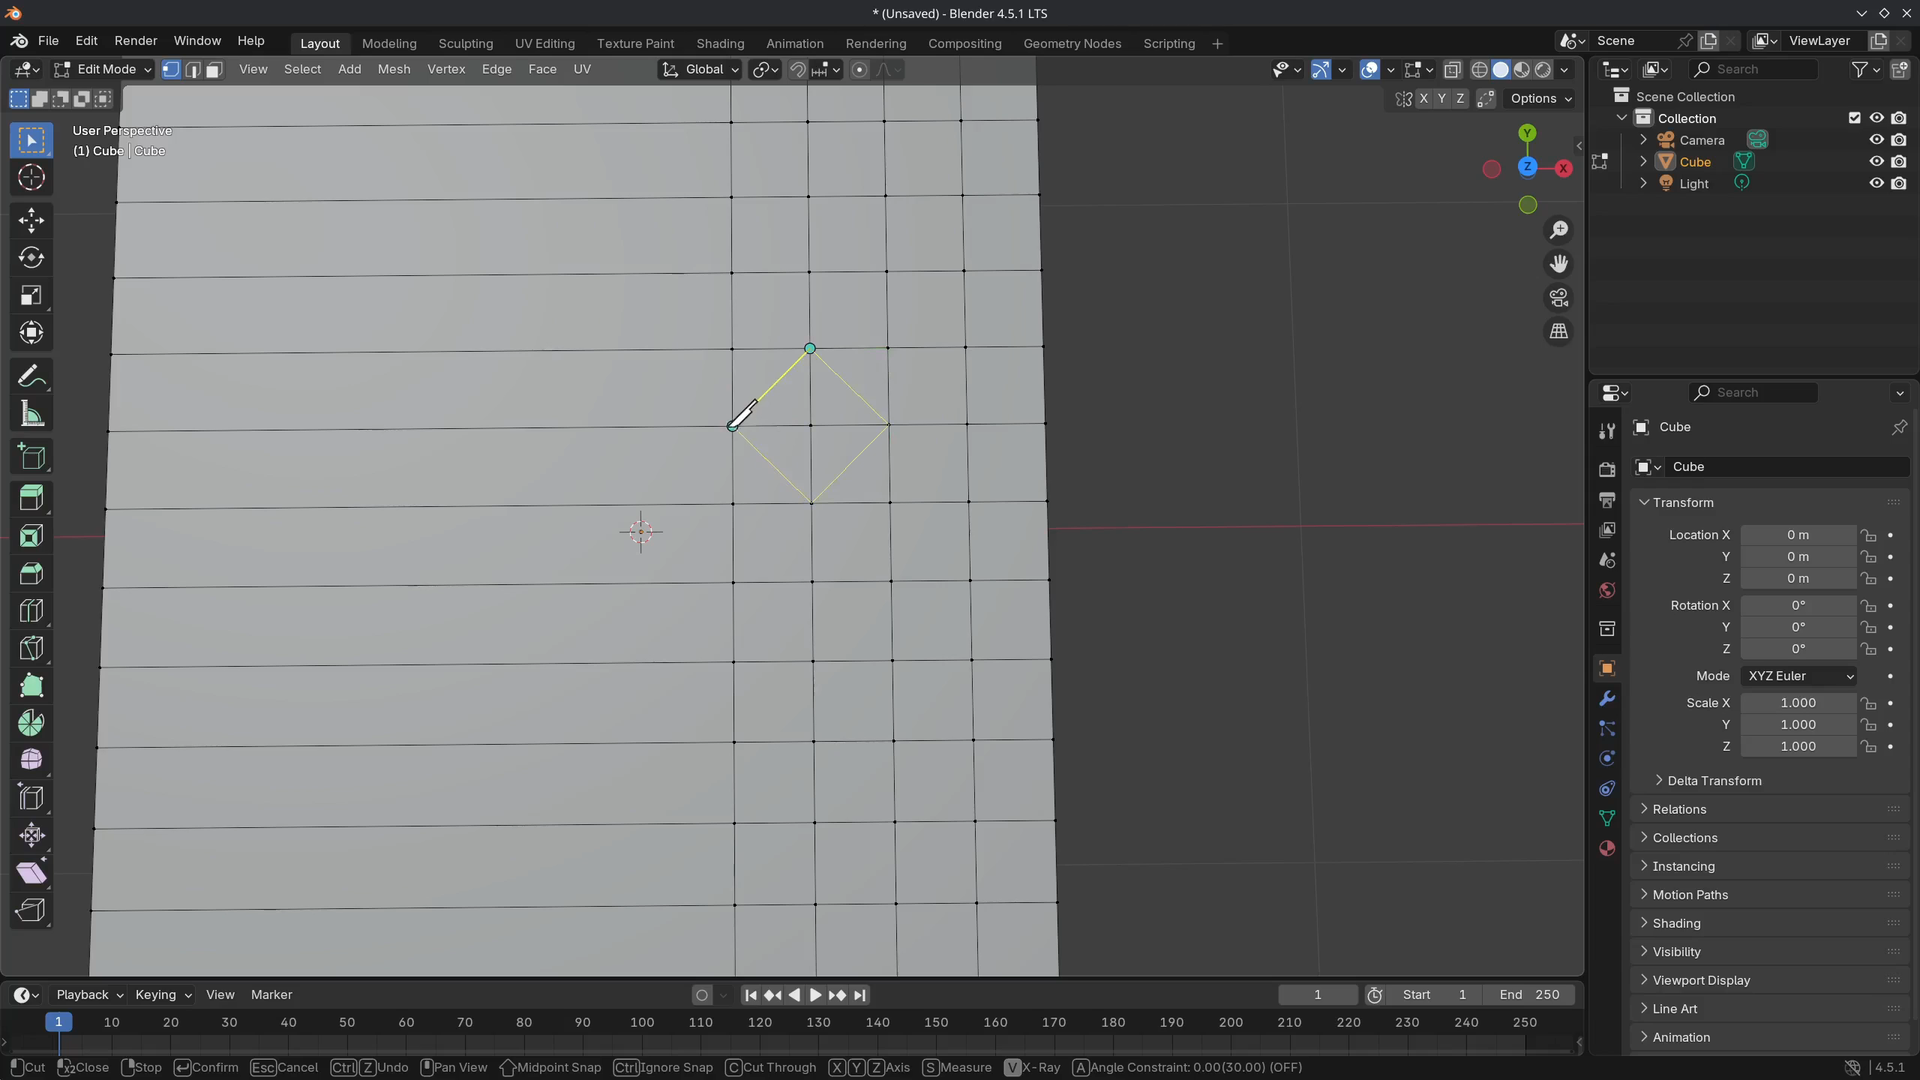
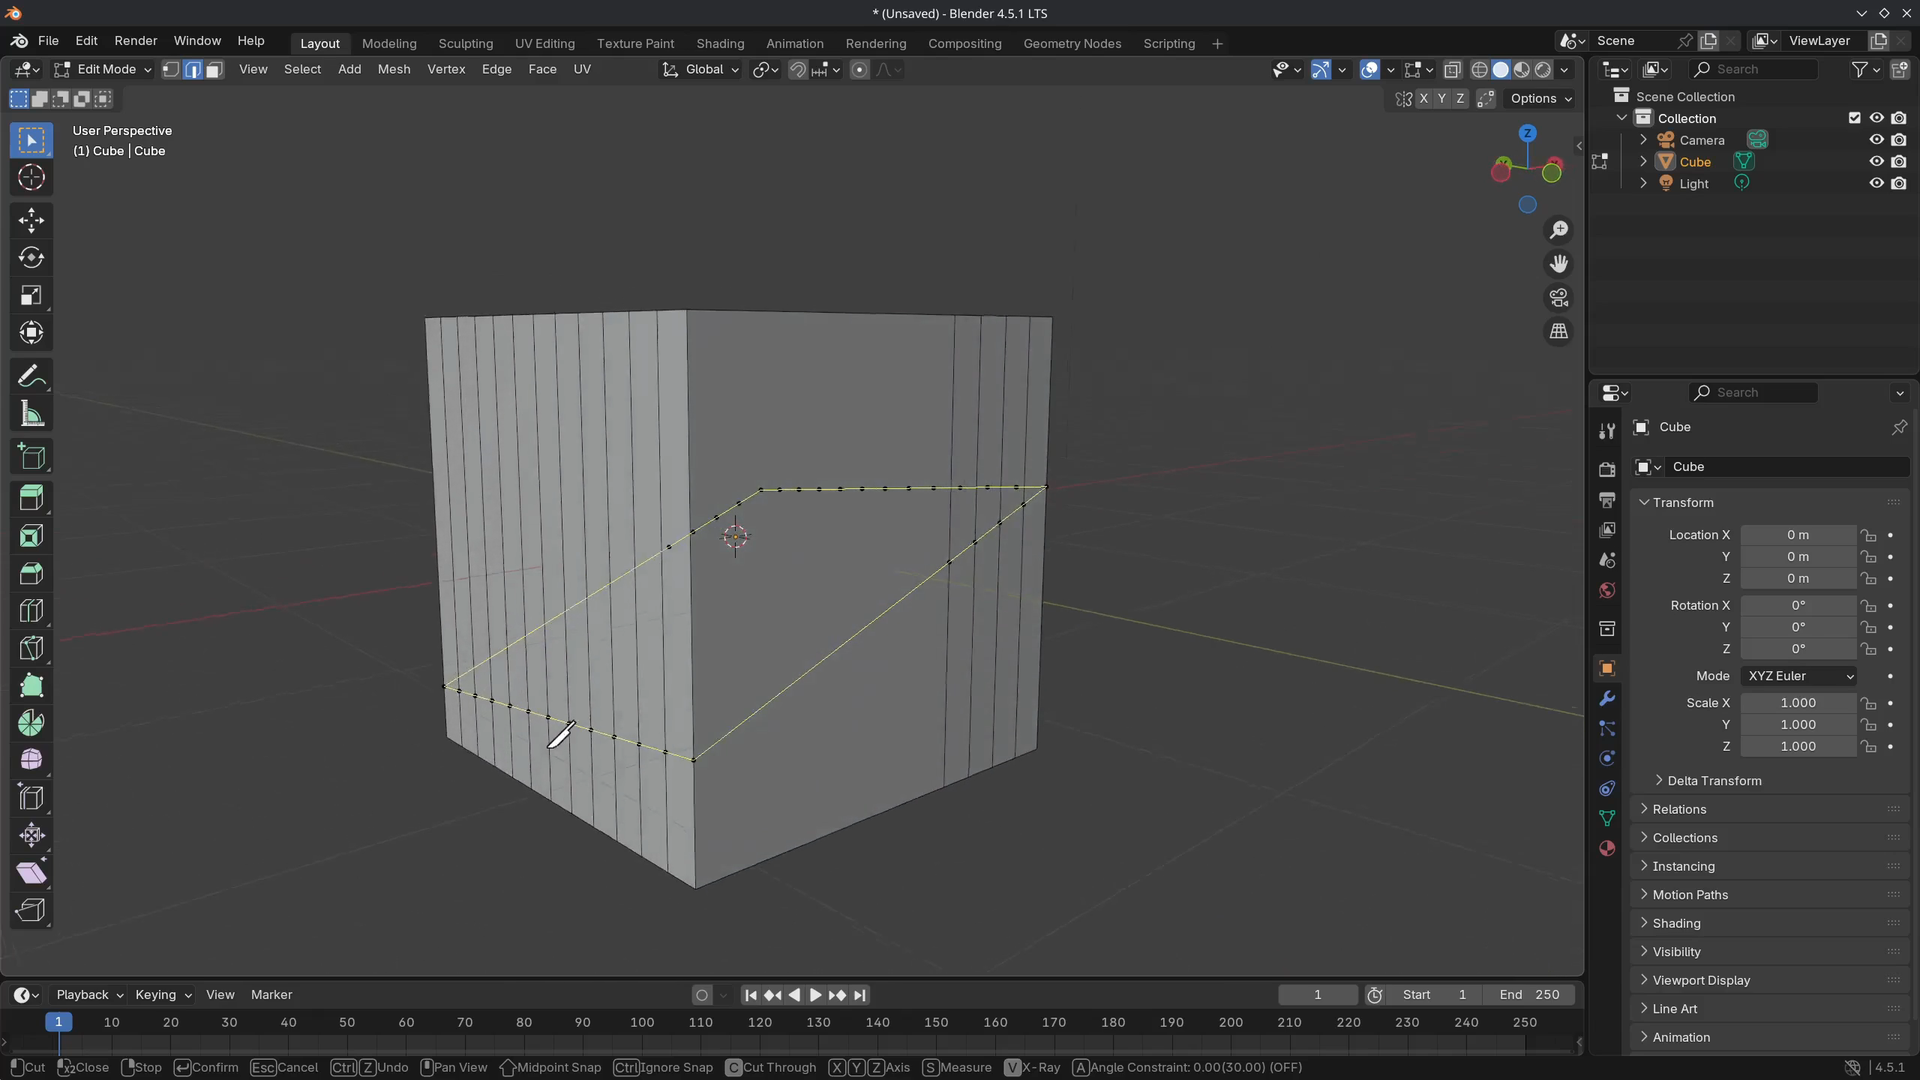
Use K to activate the Knife Topology Tool. The mouse cursor should look like a small knife.

Note

How a cyan dot and dimmed cyan edge are highlighted and snapped when hovering over vertices or edges.

Try to replicate the cut shown and make sure it is closed by selecting the first vertex. Use Enter to confirm. After confirming that, the newly created edges are highlighted.

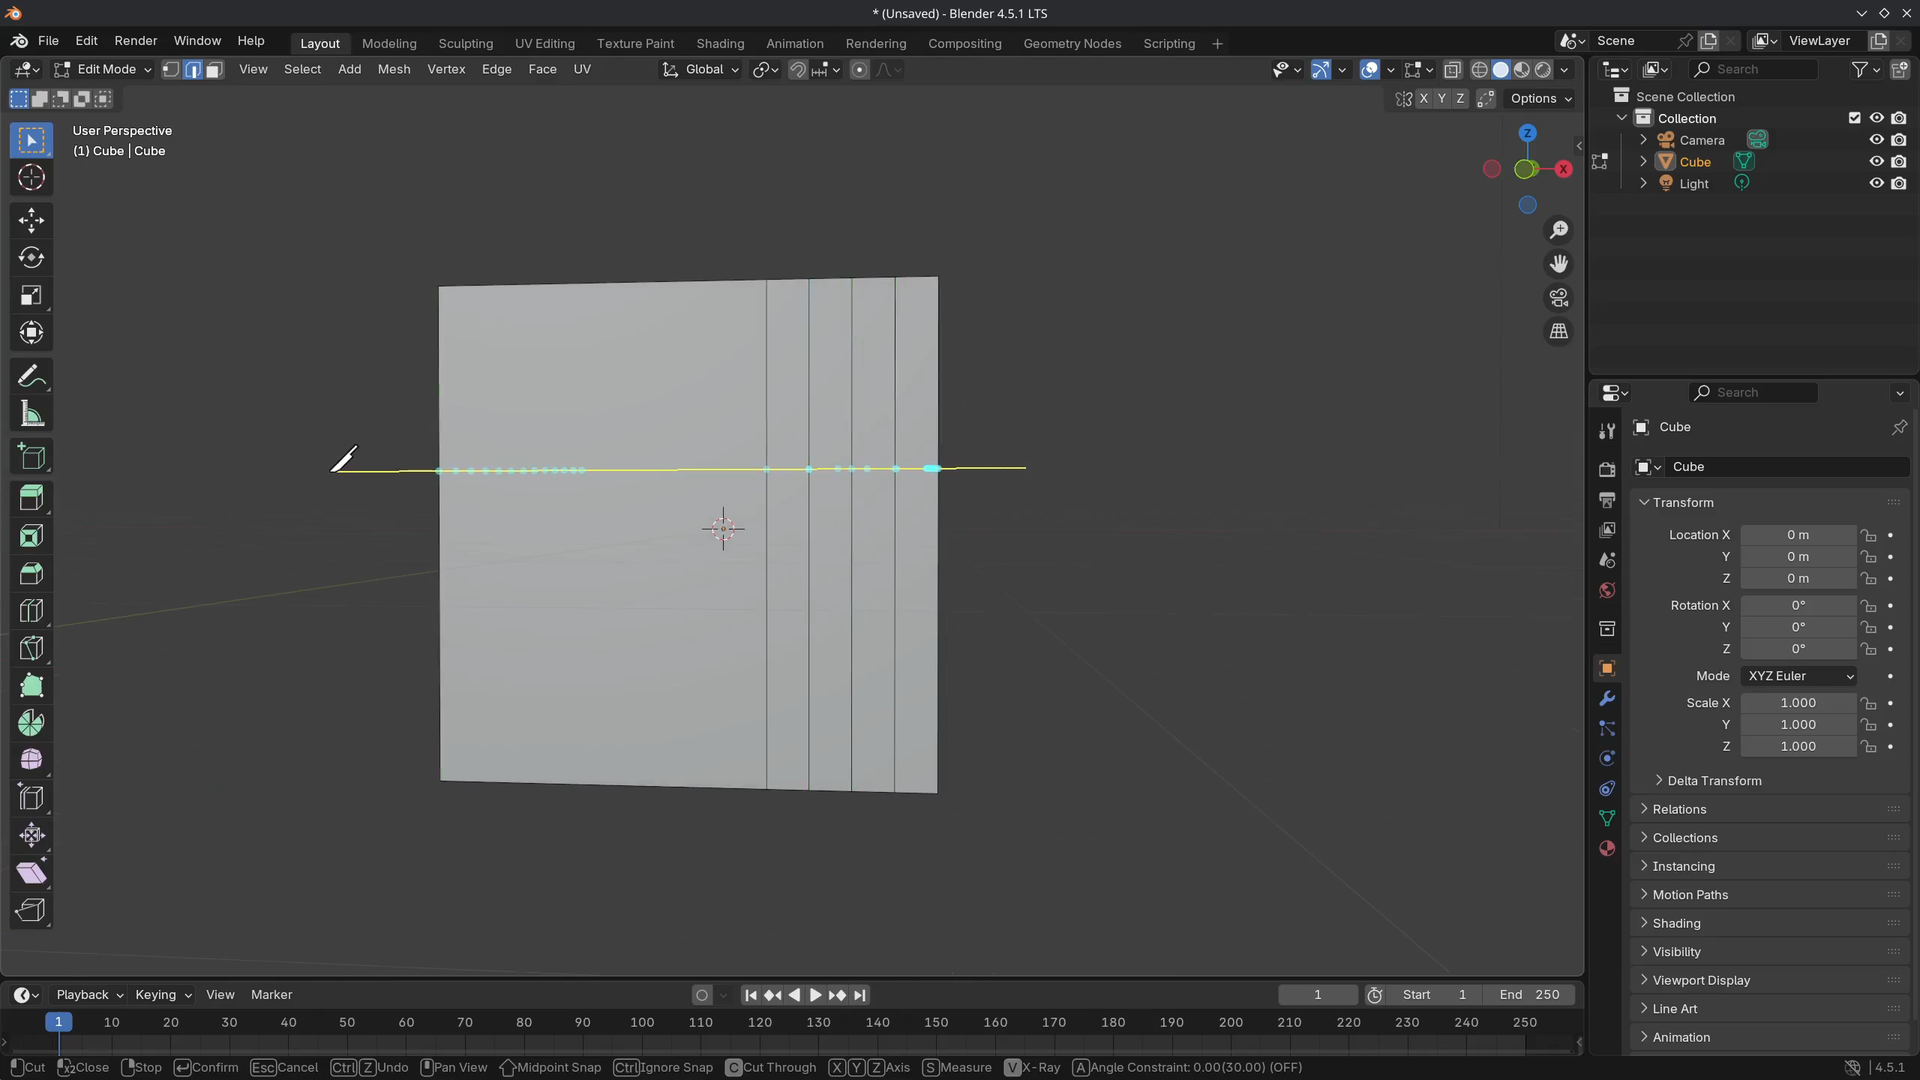
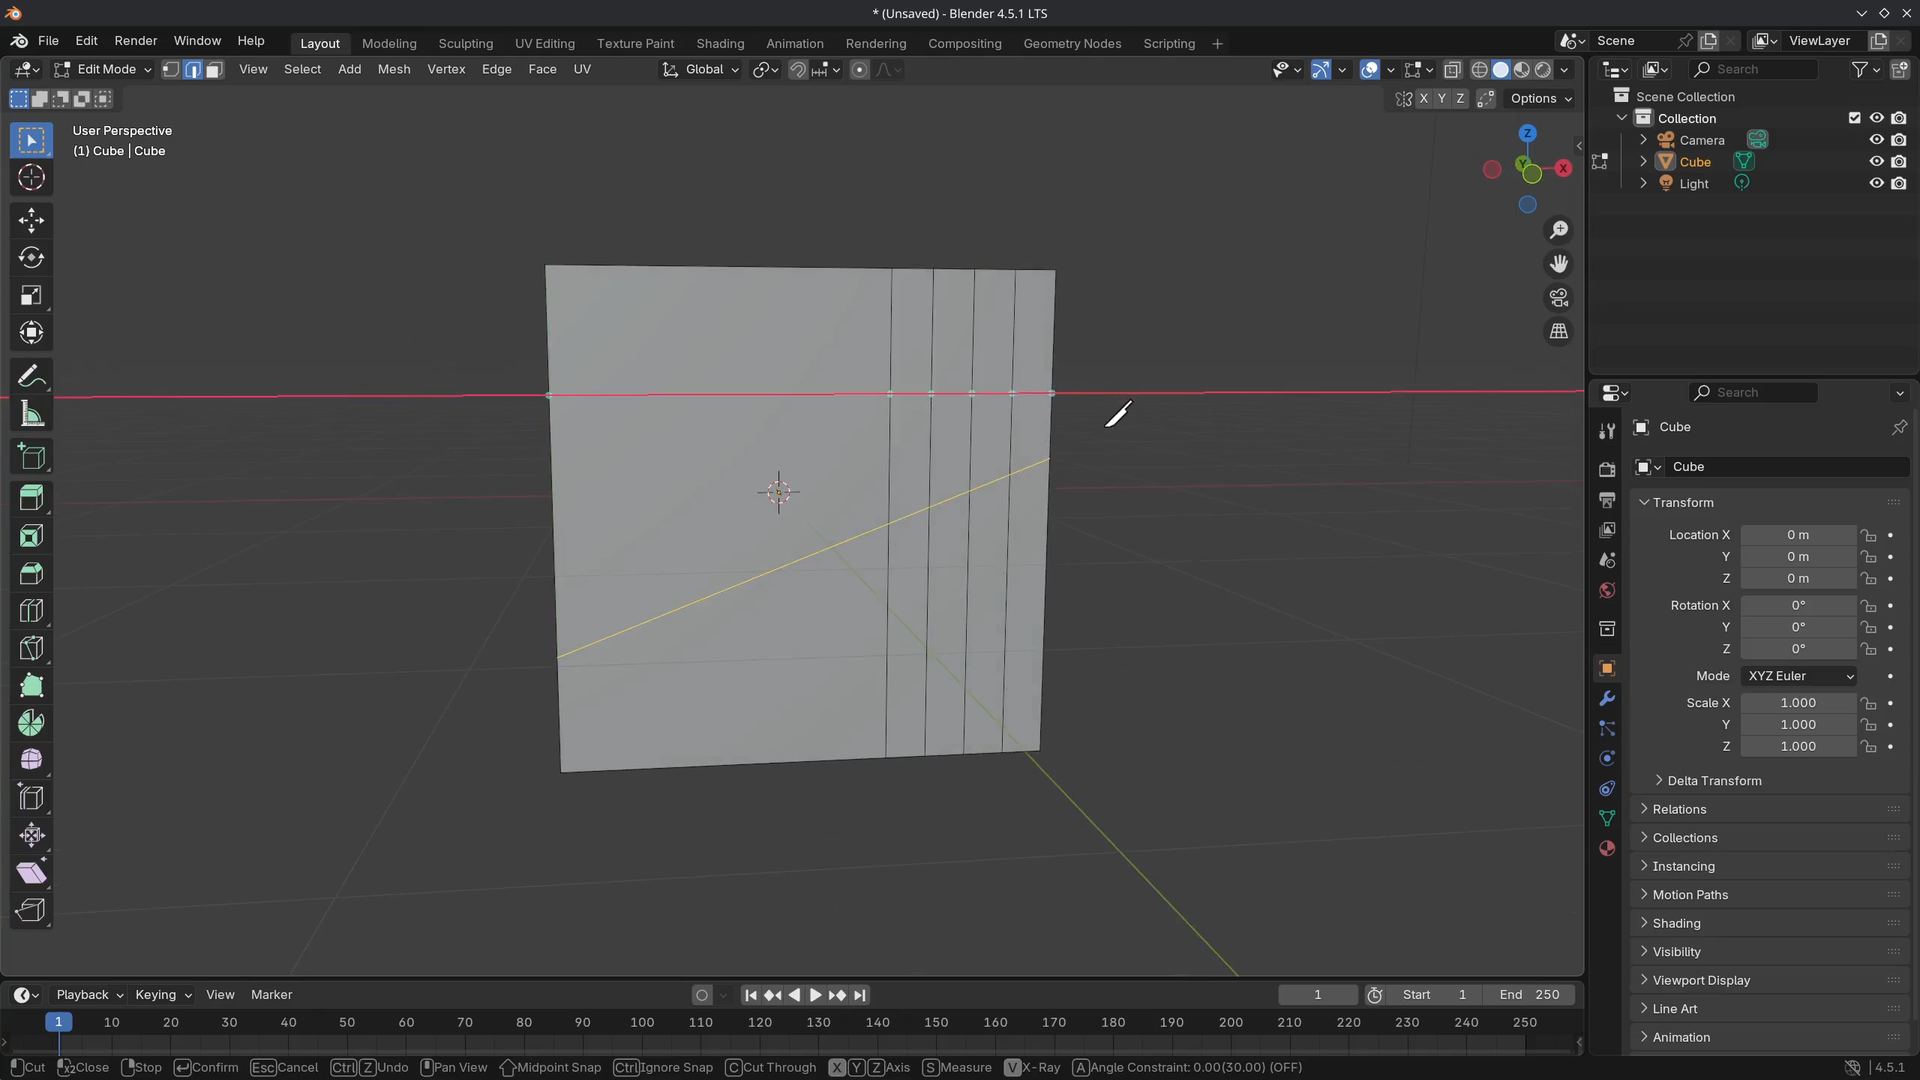
Go into top view and activate the Knife Topology Tool again (K) and hold Shift to snap to the center points of edges. Create a single cut as shown.

We can also cut through the entire cube by pressing C to "Cut Through" the mesh. Start the cut outside the mesh and overlap the knife to the other side. Use Enter to confirm.
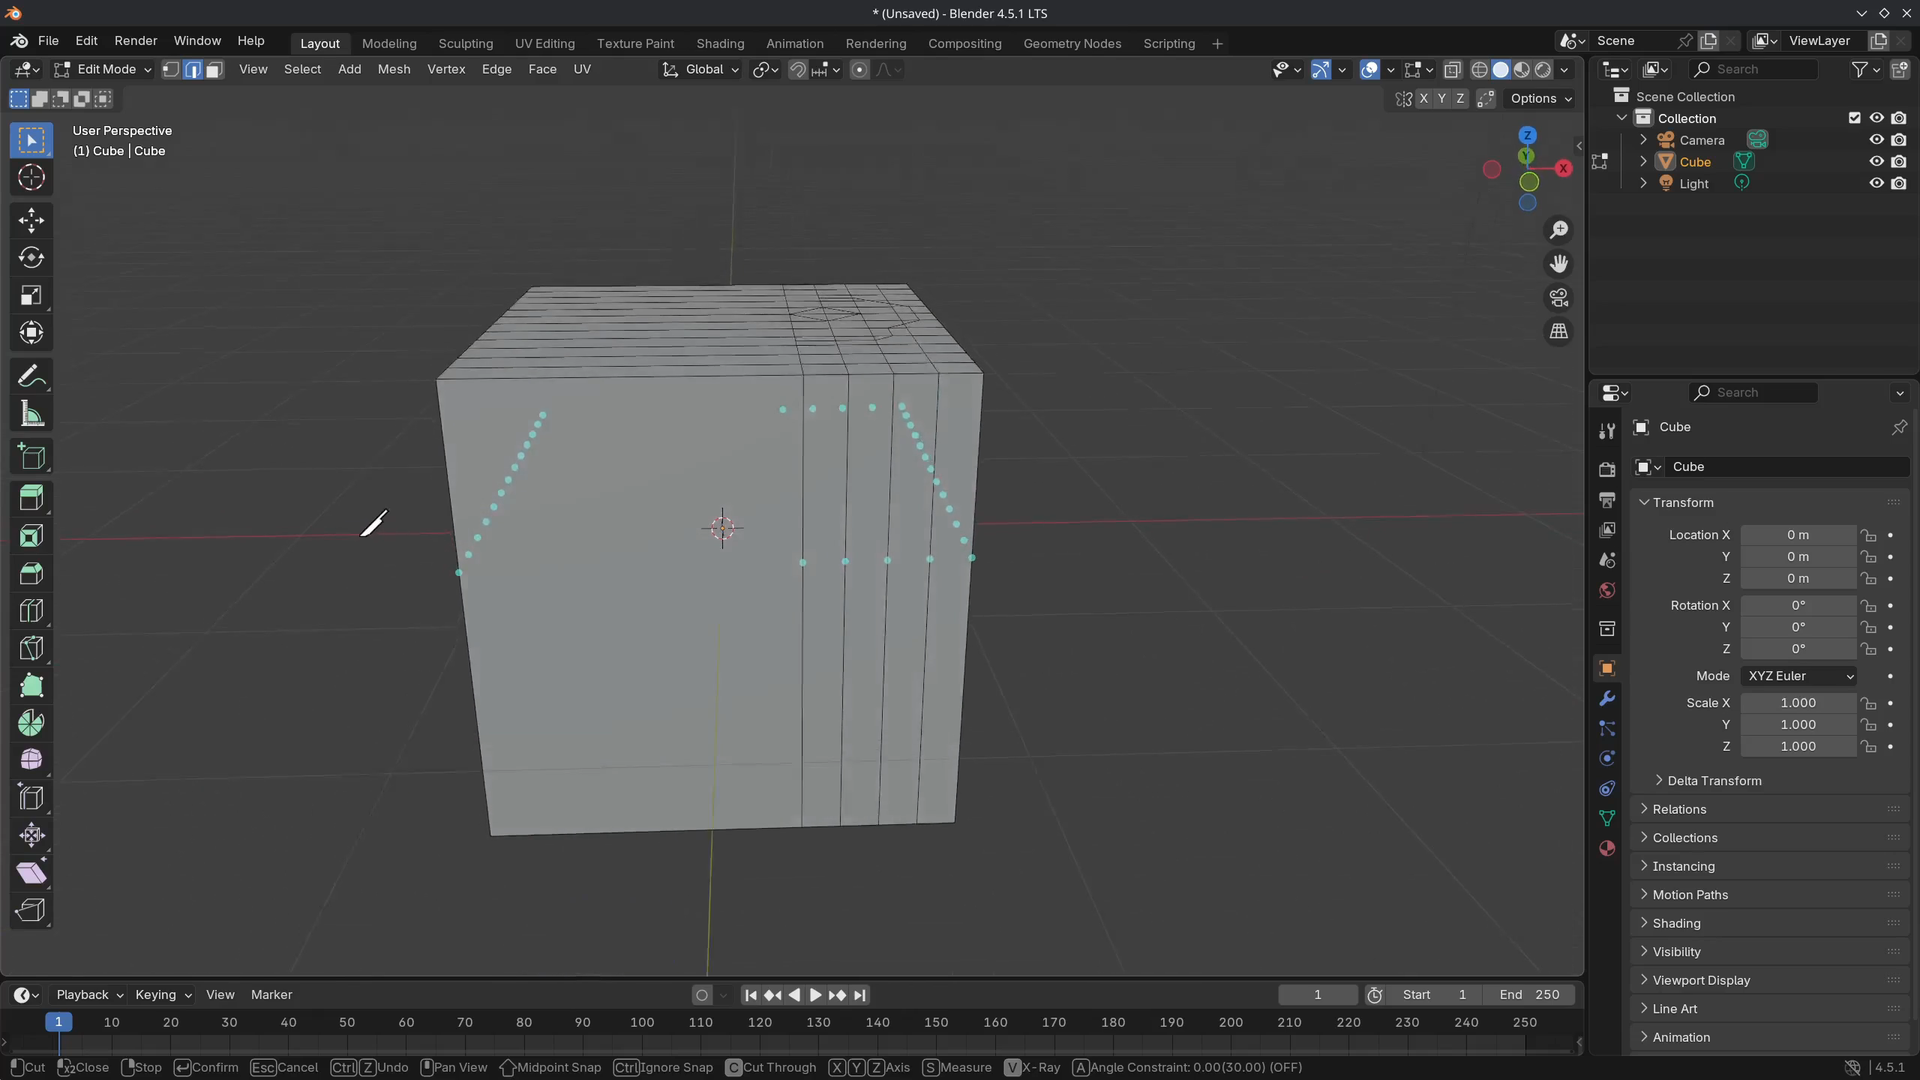
Note

How all the dots are shown behind the cube if you orbit around the cube.

We can also create a cut along an axis. Use any of the axes X, Y, Z to constrain the cut along these axes.

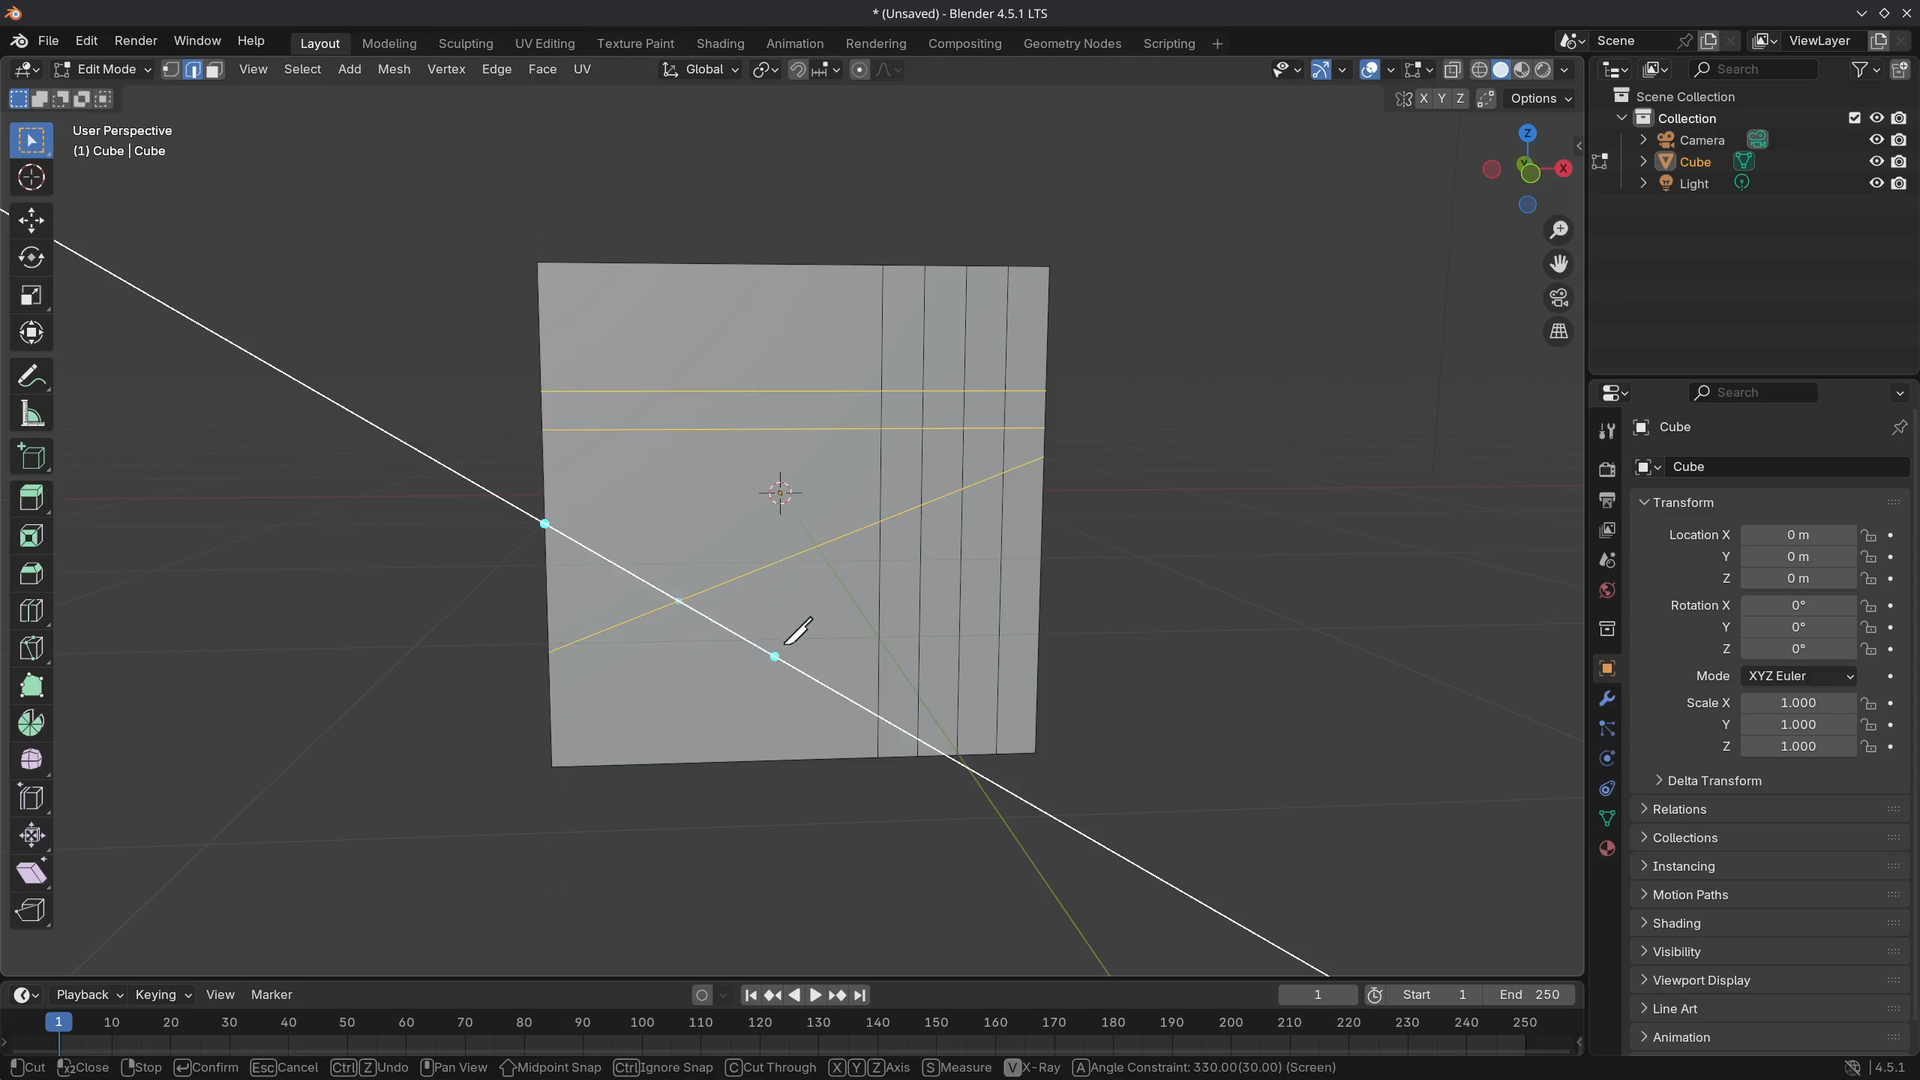
The last function is Angle Constraint. By using A, we can constrain the cut along 30-degree increments.

This tool is also available in the Toolbar. If something doesn't go the way you want, use Esc to cancel or Undo Ctrl + Z.

There are a lot of shortcuts and things to remember. Try to play around with the knife tool before going to the next lesson.


Mini assignment

Use the Knife Topology Tool to carve this X-shape out of a subdivided cube, scroll down to see the solution


Solution


That was the end of the lesson. We have learned:

  • How to use the Knife Topology Tool (K) with additional functionalities.
  • Visit the manual to learn more about the Knife Topology Tool.

Join to leave a comment.

Films Projects Training Blog
Characters
  • Storm
  • Mikassa
  • Whale
  • Ballan Wrasse
Studio
  • Terms & Conditions
  • Privacy Policy
  • Contact
  • Remixing Music
  • blender.org
Blender Studio

The creators who share.

Artistic freedom starts with Blender powered by CG Global Entertainment Ltd.
粤ICP备2024327355号-3