Workspaces

- Free
In this section, we will learn about Workspaces and how to create our own workspace. A workspace is a "preset" of different editors that allows you to perform tasks faster.
Creating Workspace
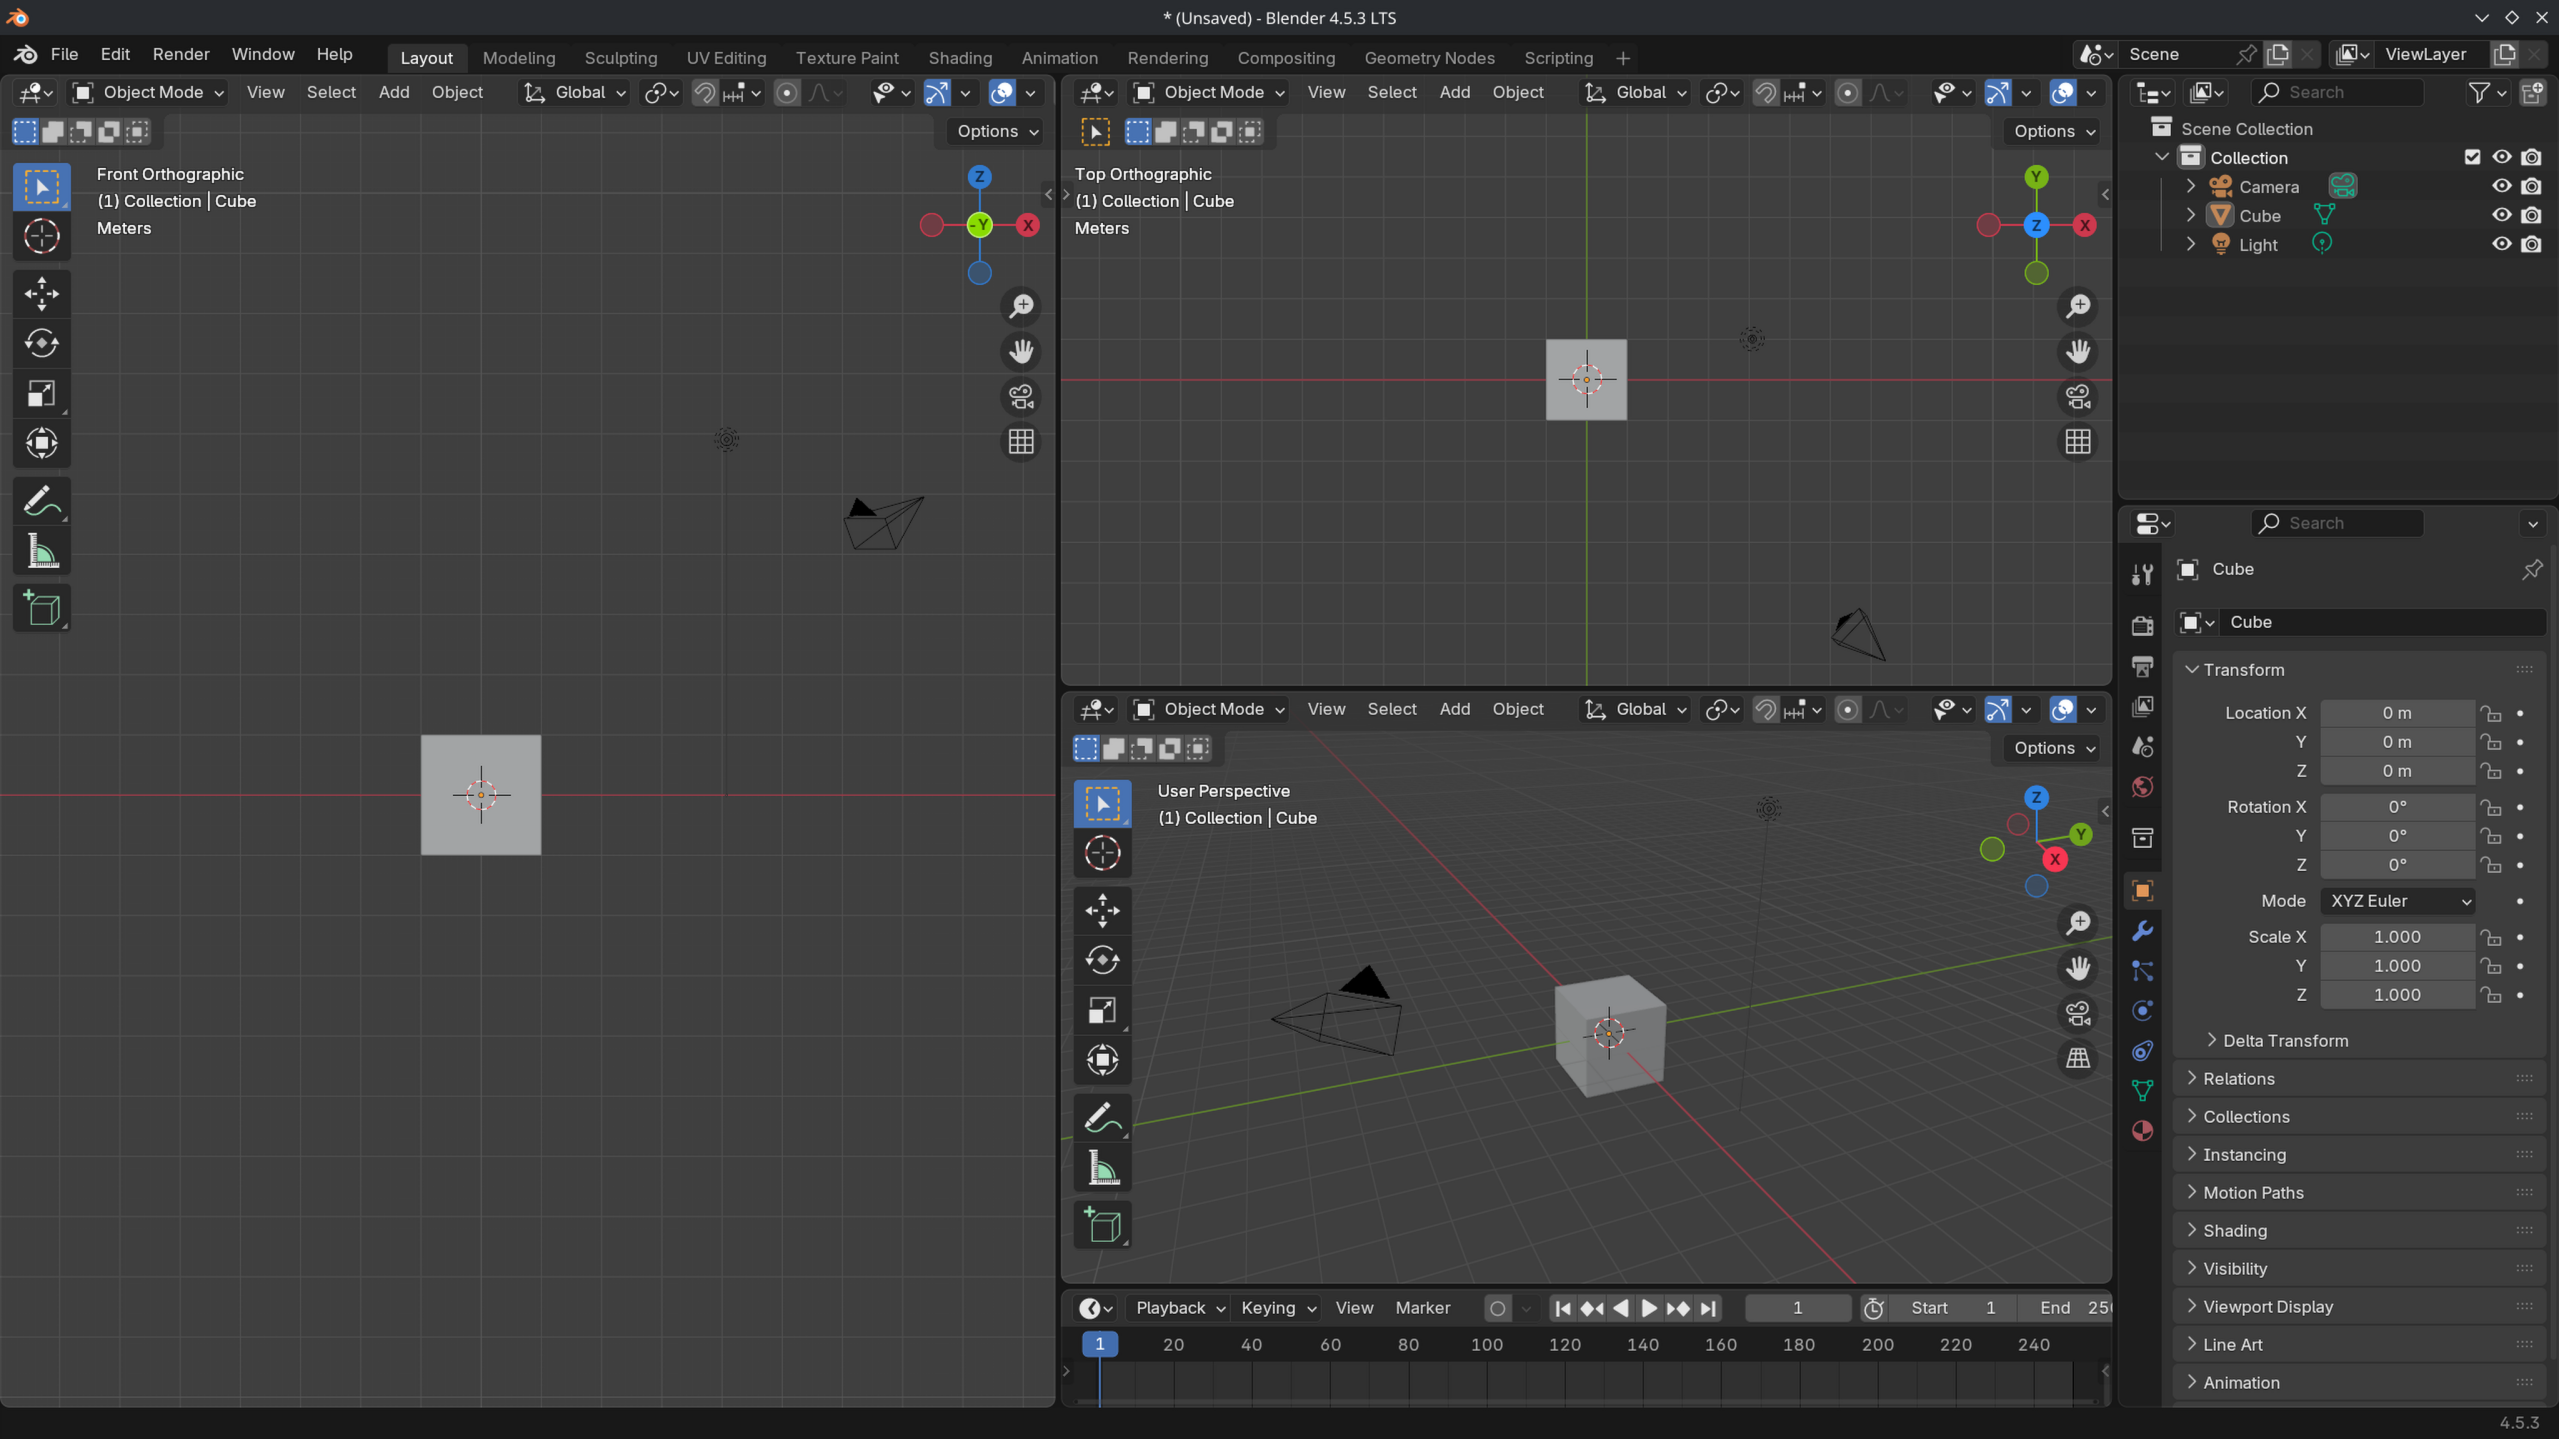
Open a new Blender file and take a look at the top where the workspaces are located. The default workspace is Layout with the editors that we know: 3D Viewport, the Outliner, and the Properties.
If we go to the next workspaces, the editor layout will be changed. The "Geometry Nodes" workspace has all the same editors as "Layout", but with the Geometry Nodes Editor and Spreadsheet editors included.
Take a look at the other workspaces.
Note
If you select the "Shading" tab, your graphics card will start compiling EEVEE shaders, which might cause a slight slowdown.
If the workspace is clipped or out of view, you can use MMB to drag horizontally to view them or use the scroll wheel. If you drag all the way to the end of the workspaces, there is a icon to add your own workspace, select it, and notice how there is a pop-over menu.
You can select any of the presets or copy the current workspace you are in by choosing "Duplicate Current". Duplicate the Layout workspace. Notice how there is a new workspace called "Layout.001".
Let's rename our workspace by double-clicking using the LMB, and rename it to "General". If you hover your mouse over the workspace tab and using RMB will open a menu with settings. Here you can reorder, duplicate, delete, or switch workspaces. Let's move the workspace to the front by selecting "Reorder to Front".
More details about workspaces.
Customize Workspace
Now it is time to customize our workspace by splitting windows and changing the editor into different regions.
By hovering above any of the borders between the windows, you can see that your cursor will change into double arrows. When this happens, use the RMB to open a menu. This "Area Options" menu allows you to split, join, or swap windows.
Choose "Vertical Split" and notice how the cursor changes again. By moving the mouse vertically, you can determine the amount of space the editor will receive. Make sure to split the 3D Viewport in two, use LMB to confirm.
Notice how you can change the view in one and not affect the other. This is a good way to look at your model from different views.
Let's join the right 3D Viewport with the bottom Timeline. Hover your mouse over the border and choose "Join Down". This will merge the 3D Viewport, making it slightly bigger.
Finally, we can save this layout by going to File > Defaults > Save Startup File. Now, when we close Blender, the workspace is saved. But in this case, we'll stick to the standard "Layout" workspace. More information about regions and managing the editors.
Mini assignment
Try to recreate this workspace layout.
Solution
That was the end of the lesson. We have learned:
- What workspaces are and what they are used for.
- How to split editors and change the editor type.
- Creating your own workspace and saving it.
This is the end of the User Interface chapter. In the next chapter, we will learn about modeling.
Join to leave a comment.