Delete, Separate, Merge & Connect

- Free
This section contains how deleting elements, separating elements of the mesh and how merging vertices work and other methods to connect mesh elements. This is an essential part to learn to control the topology (flow) of your mesh.
Deleting in Edit Mode
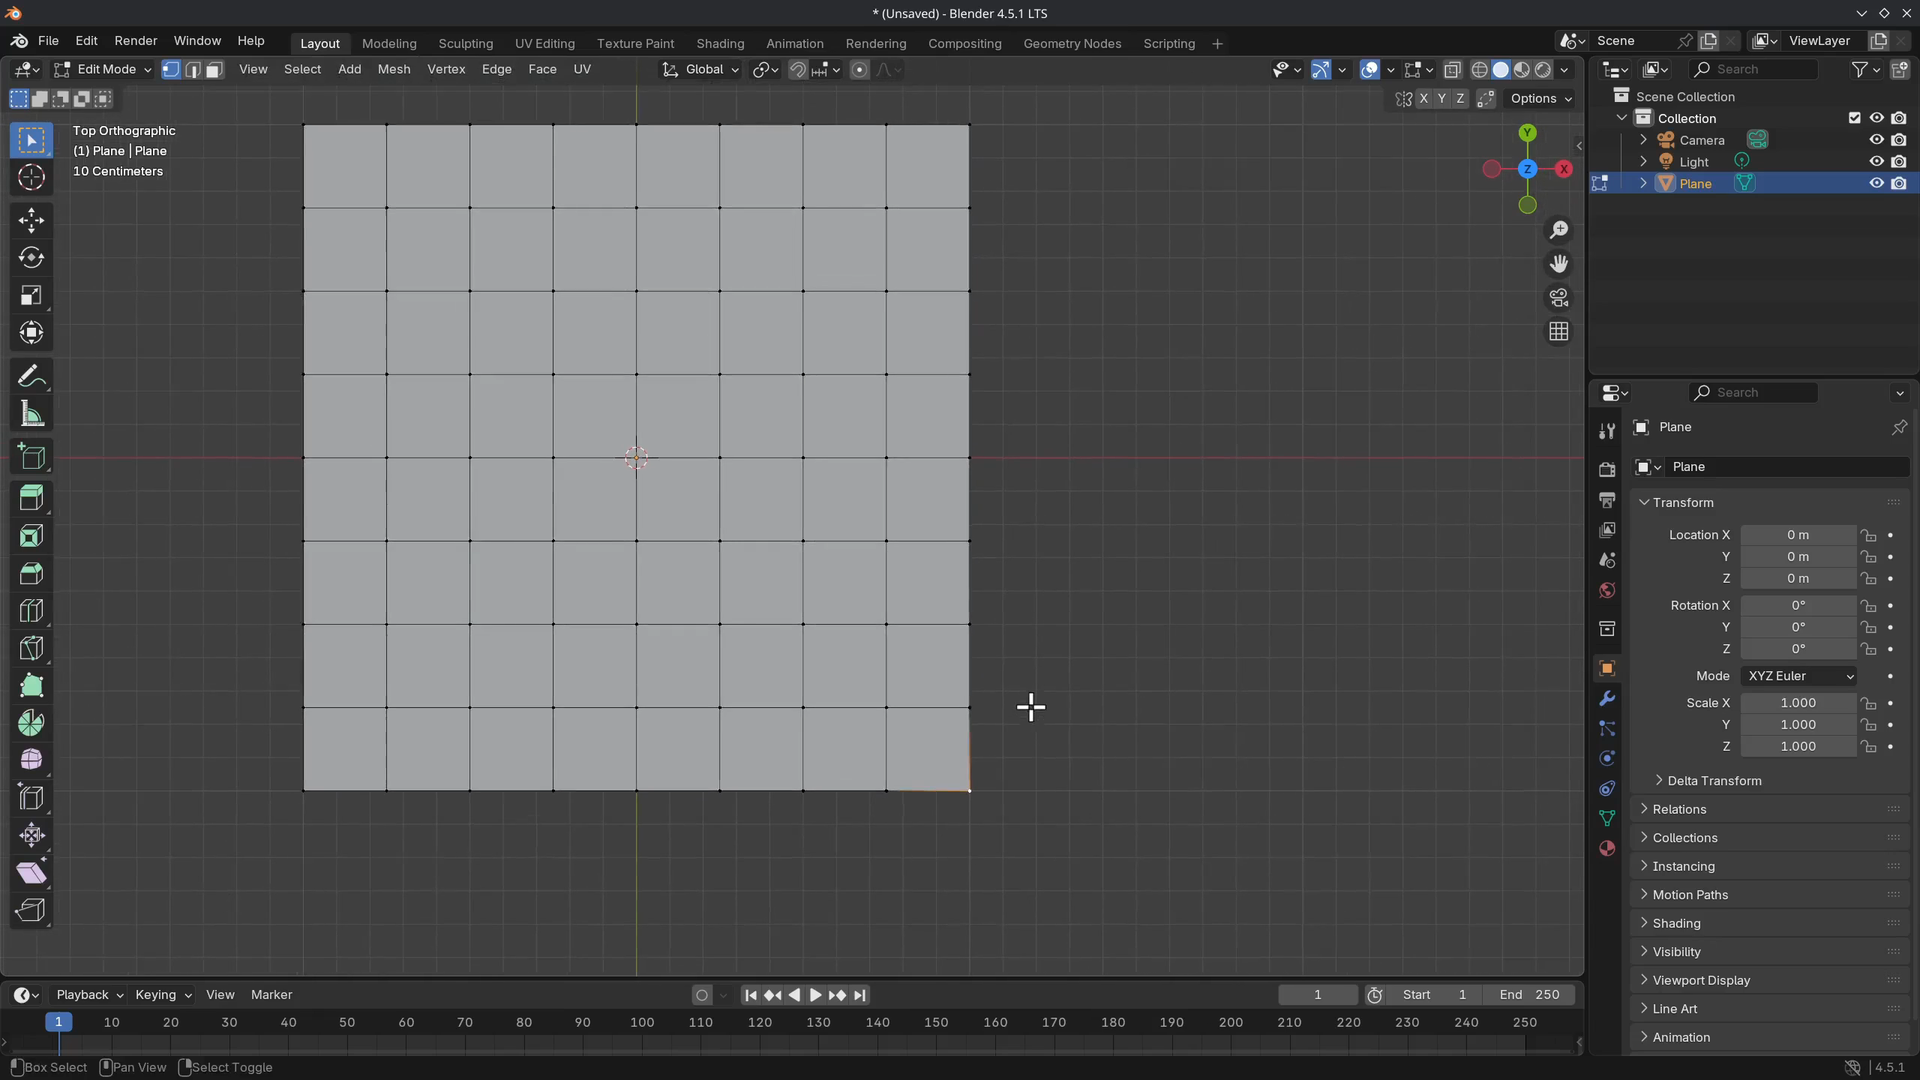
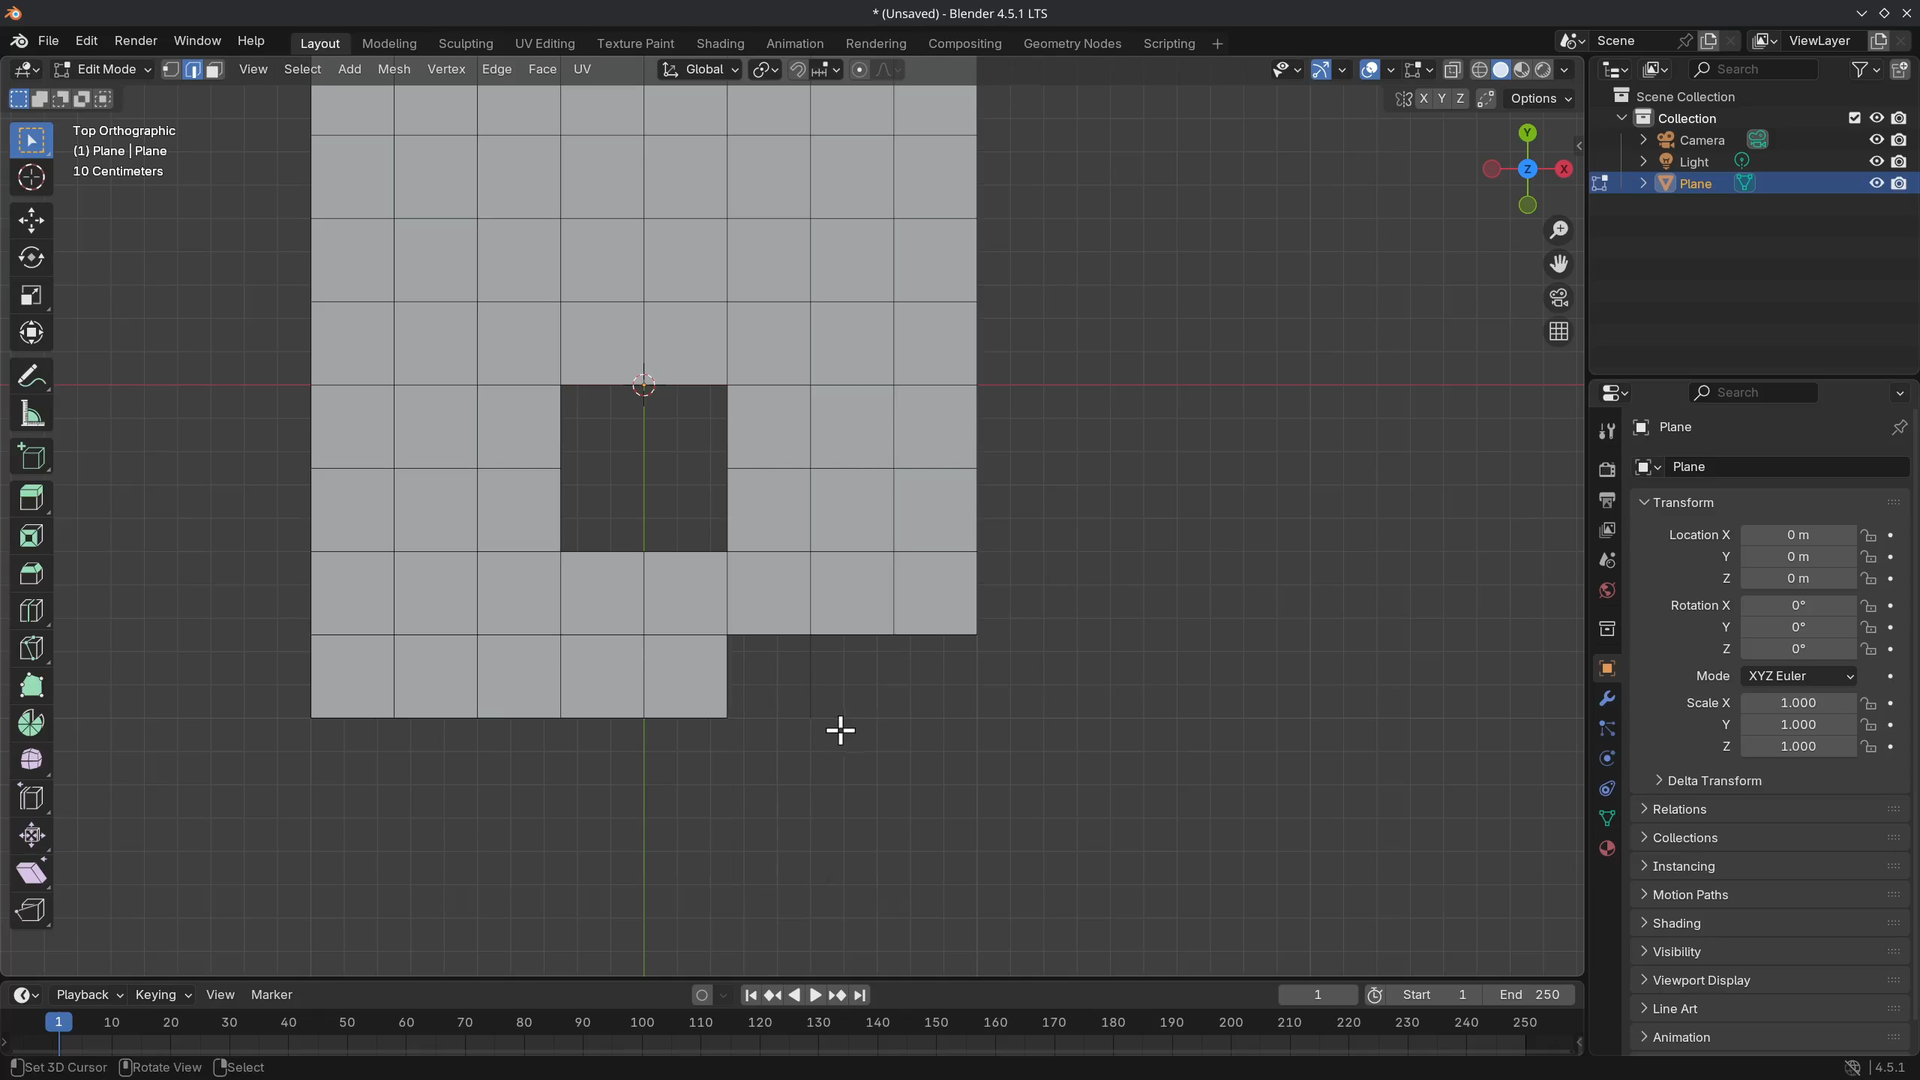
Open a new Blender File and delete the default cube, and add a plane.
Enter Edit Mode and subdivide three times.
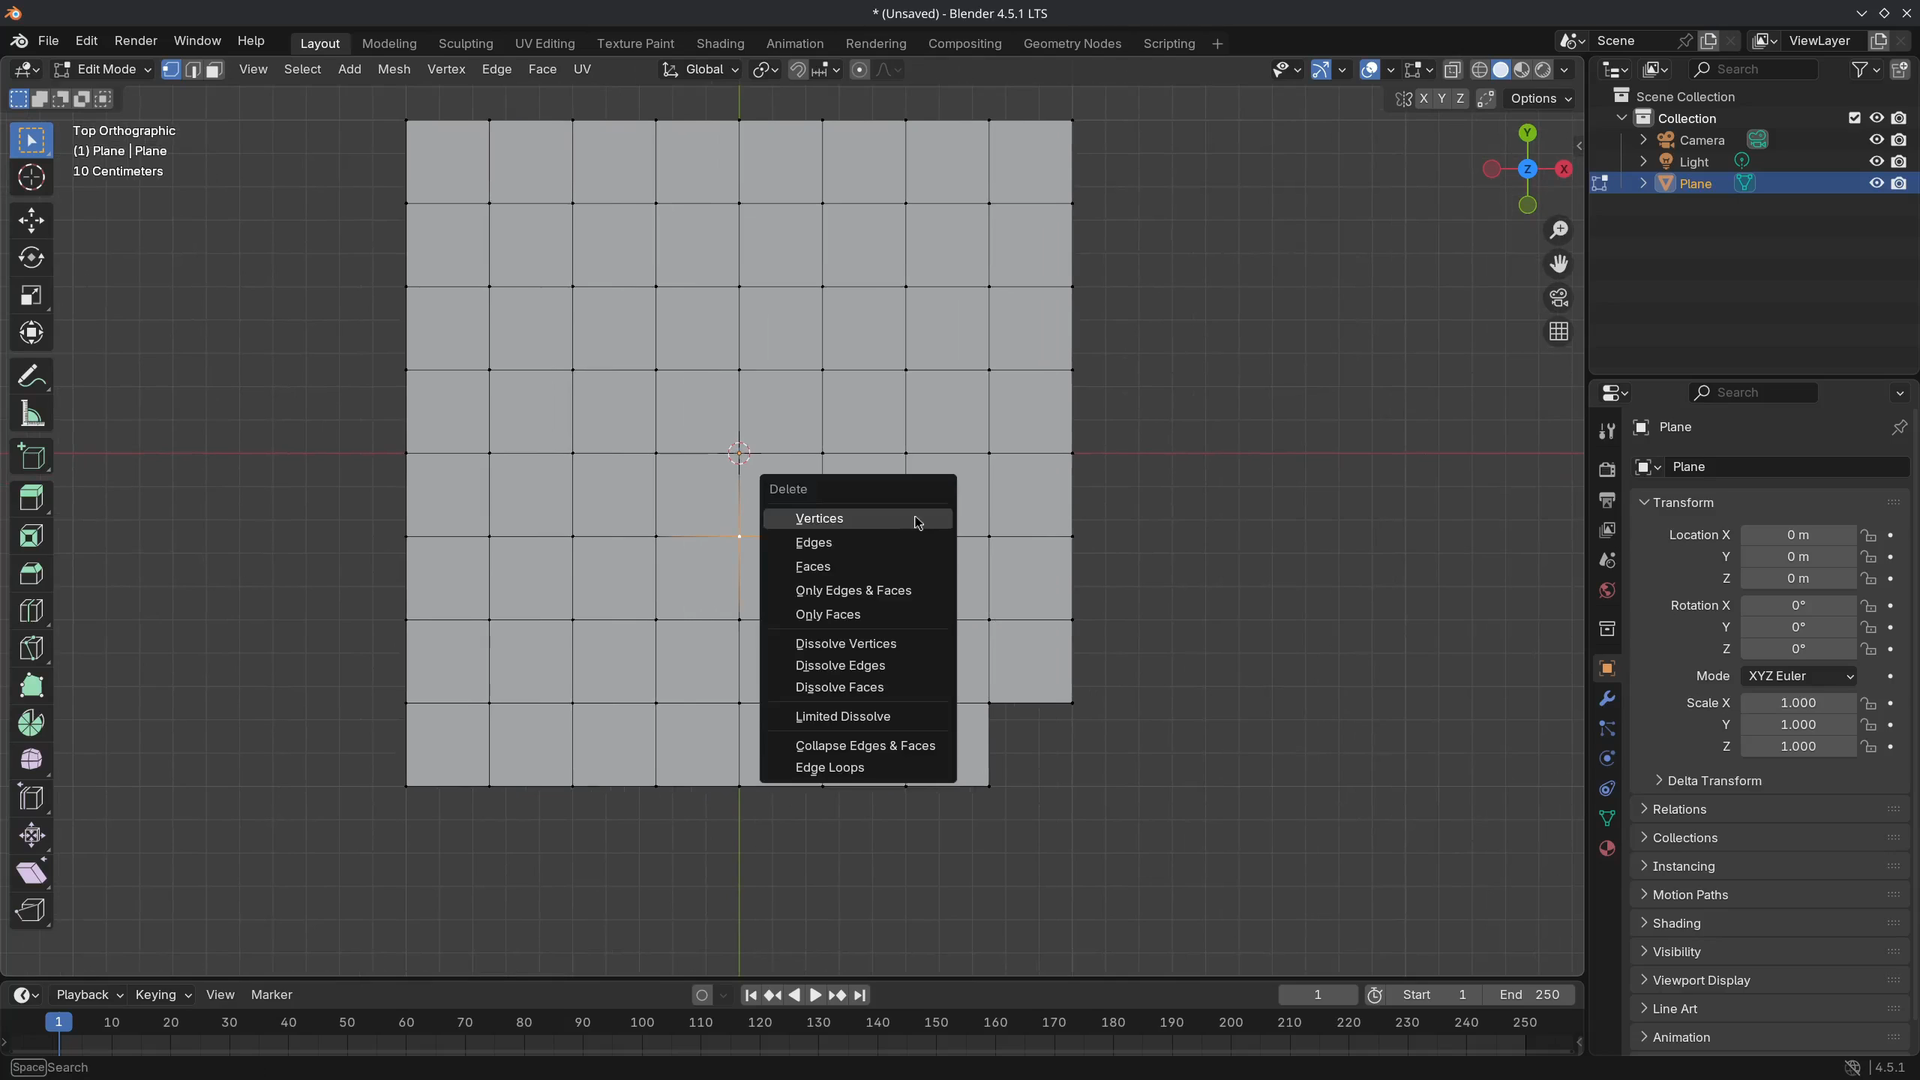
Select a single corner vertex and press X > Vertices. This deletes the entire face because a face contains four vertices.
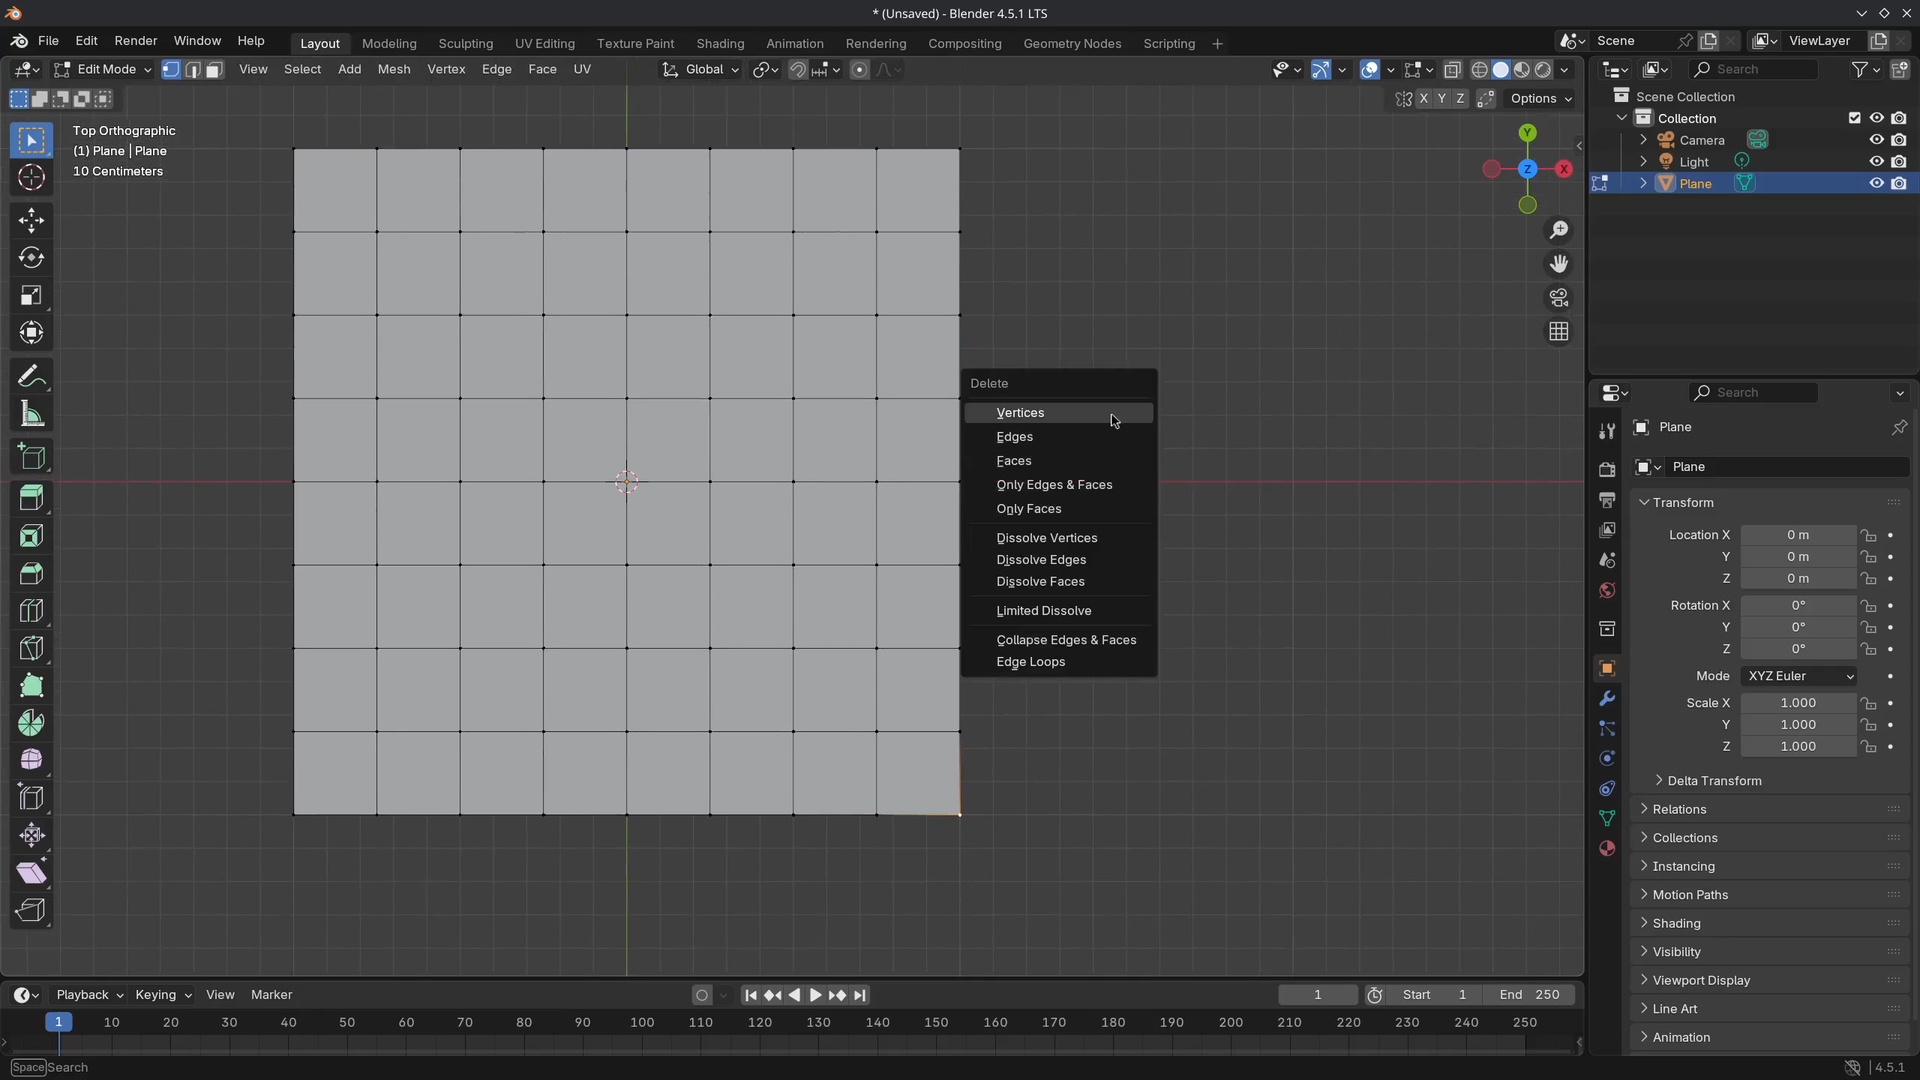
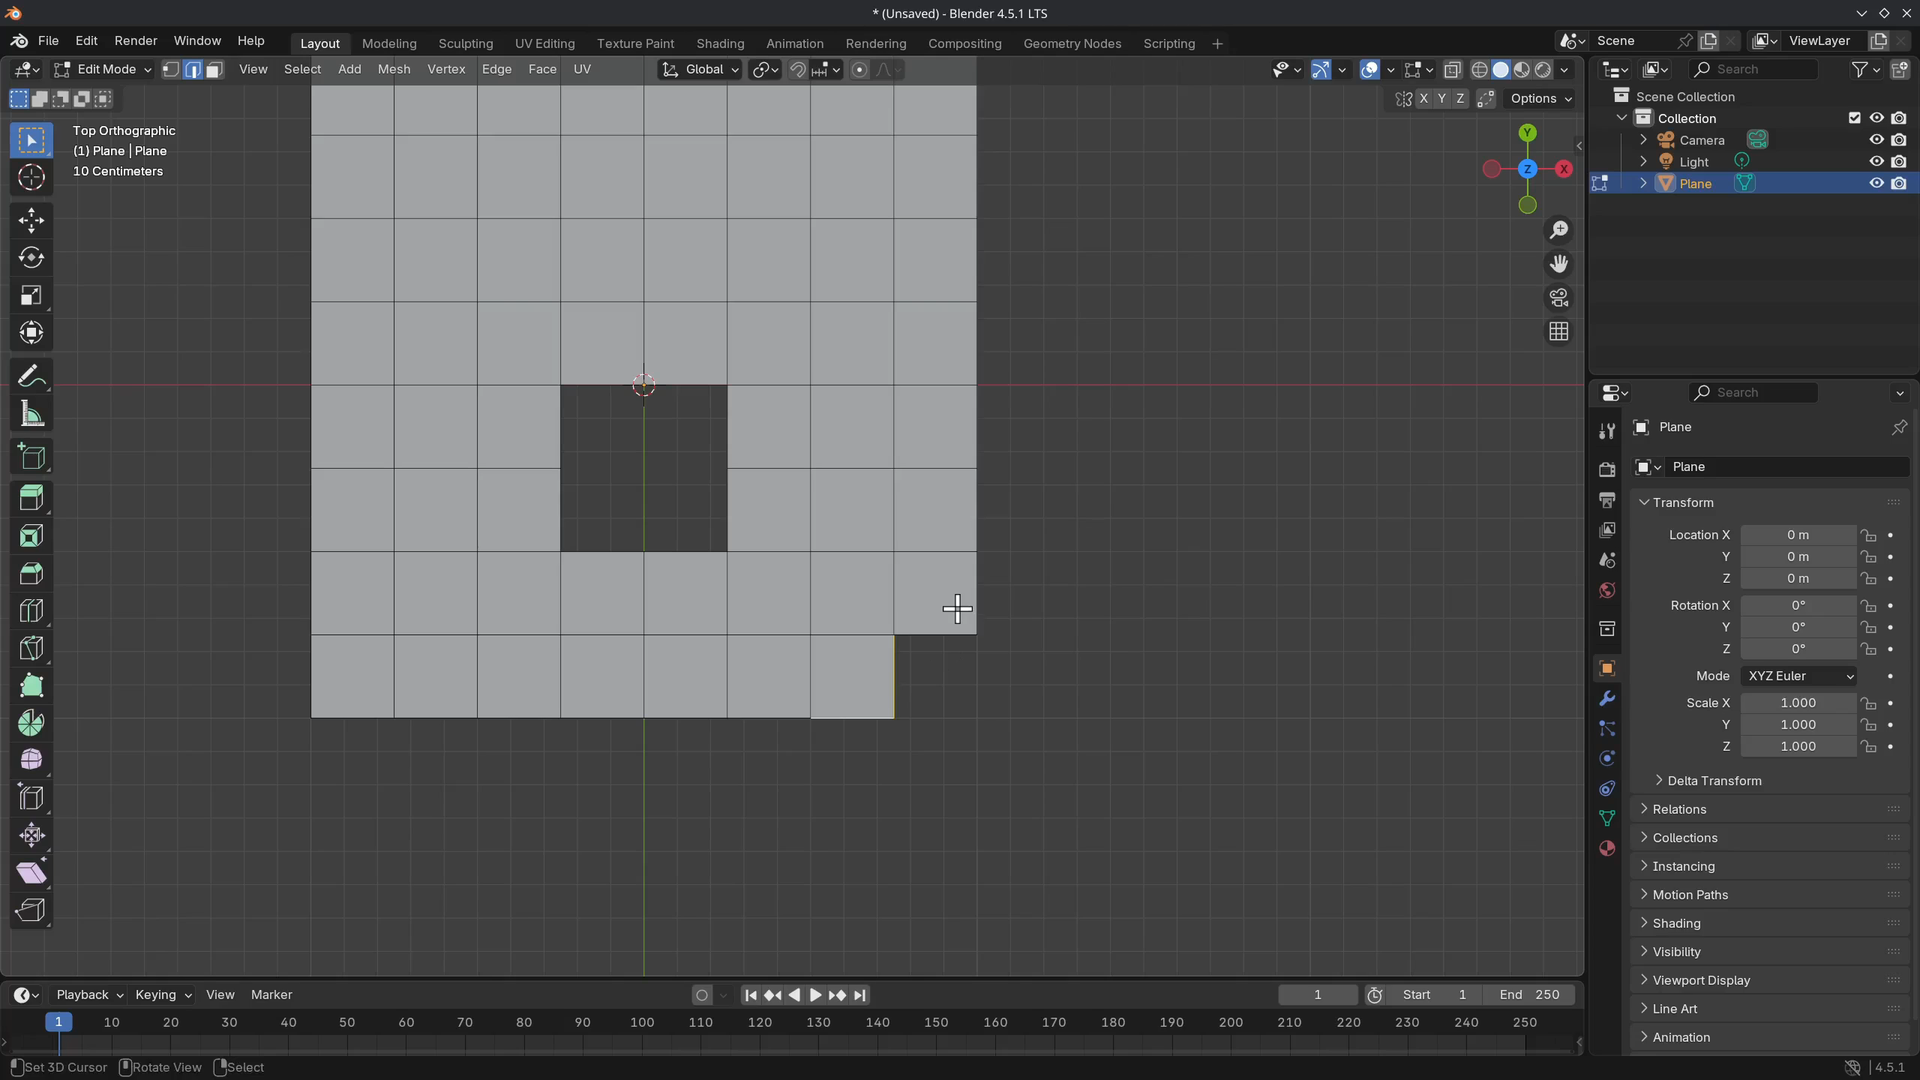
Select a single vertex that is surrounded by other vertices and delete it. This will delete four faces.
Select two edges in the corner of the plane and delete X > Edges. This will delete the face.
But deleting a single edge, as shown below, will leave another edge remaining.

Next are faces, select a couple of faces by going into Face Selection Mode and pressing X > Faces. This will simply delete the selected faces.

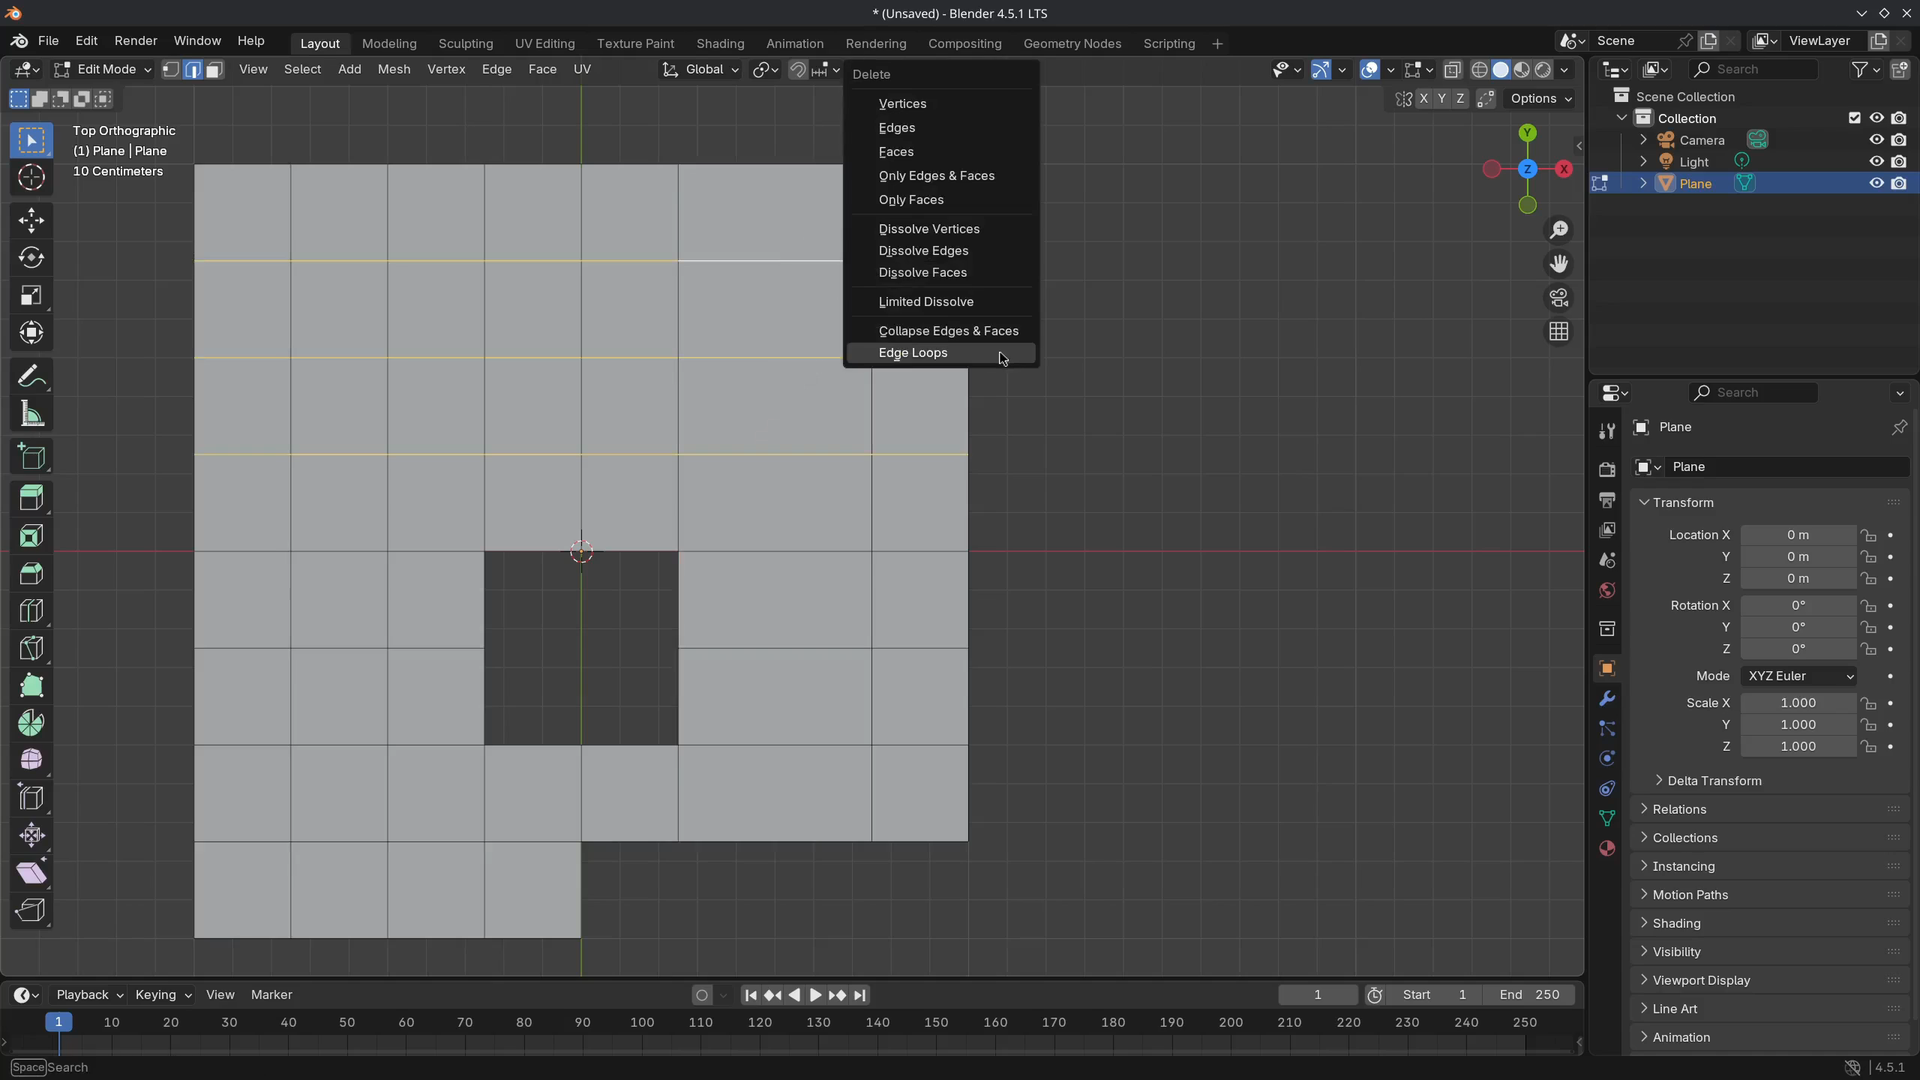
Select an edge loop and press X > Edge Loops to delete the edge loop, leaving the rest of the mesh intact. This works with multiple edge loops too.

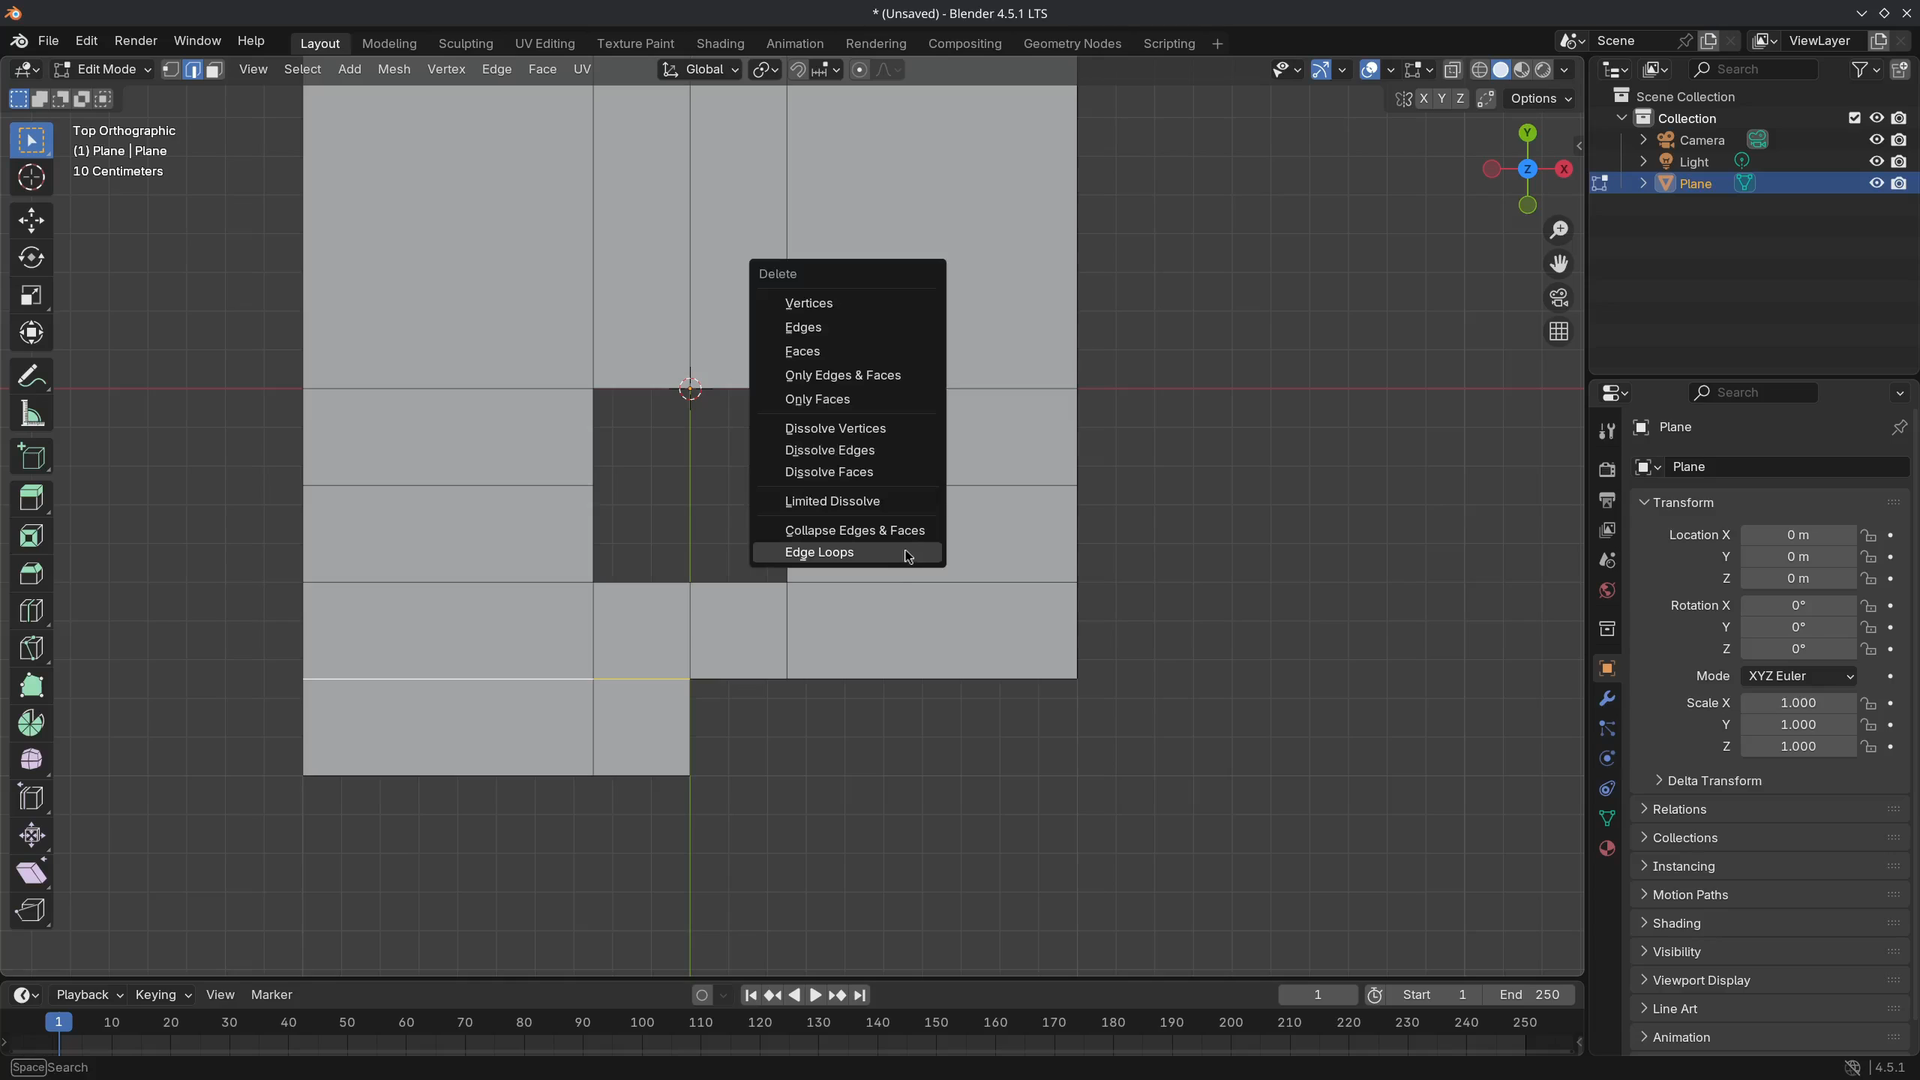
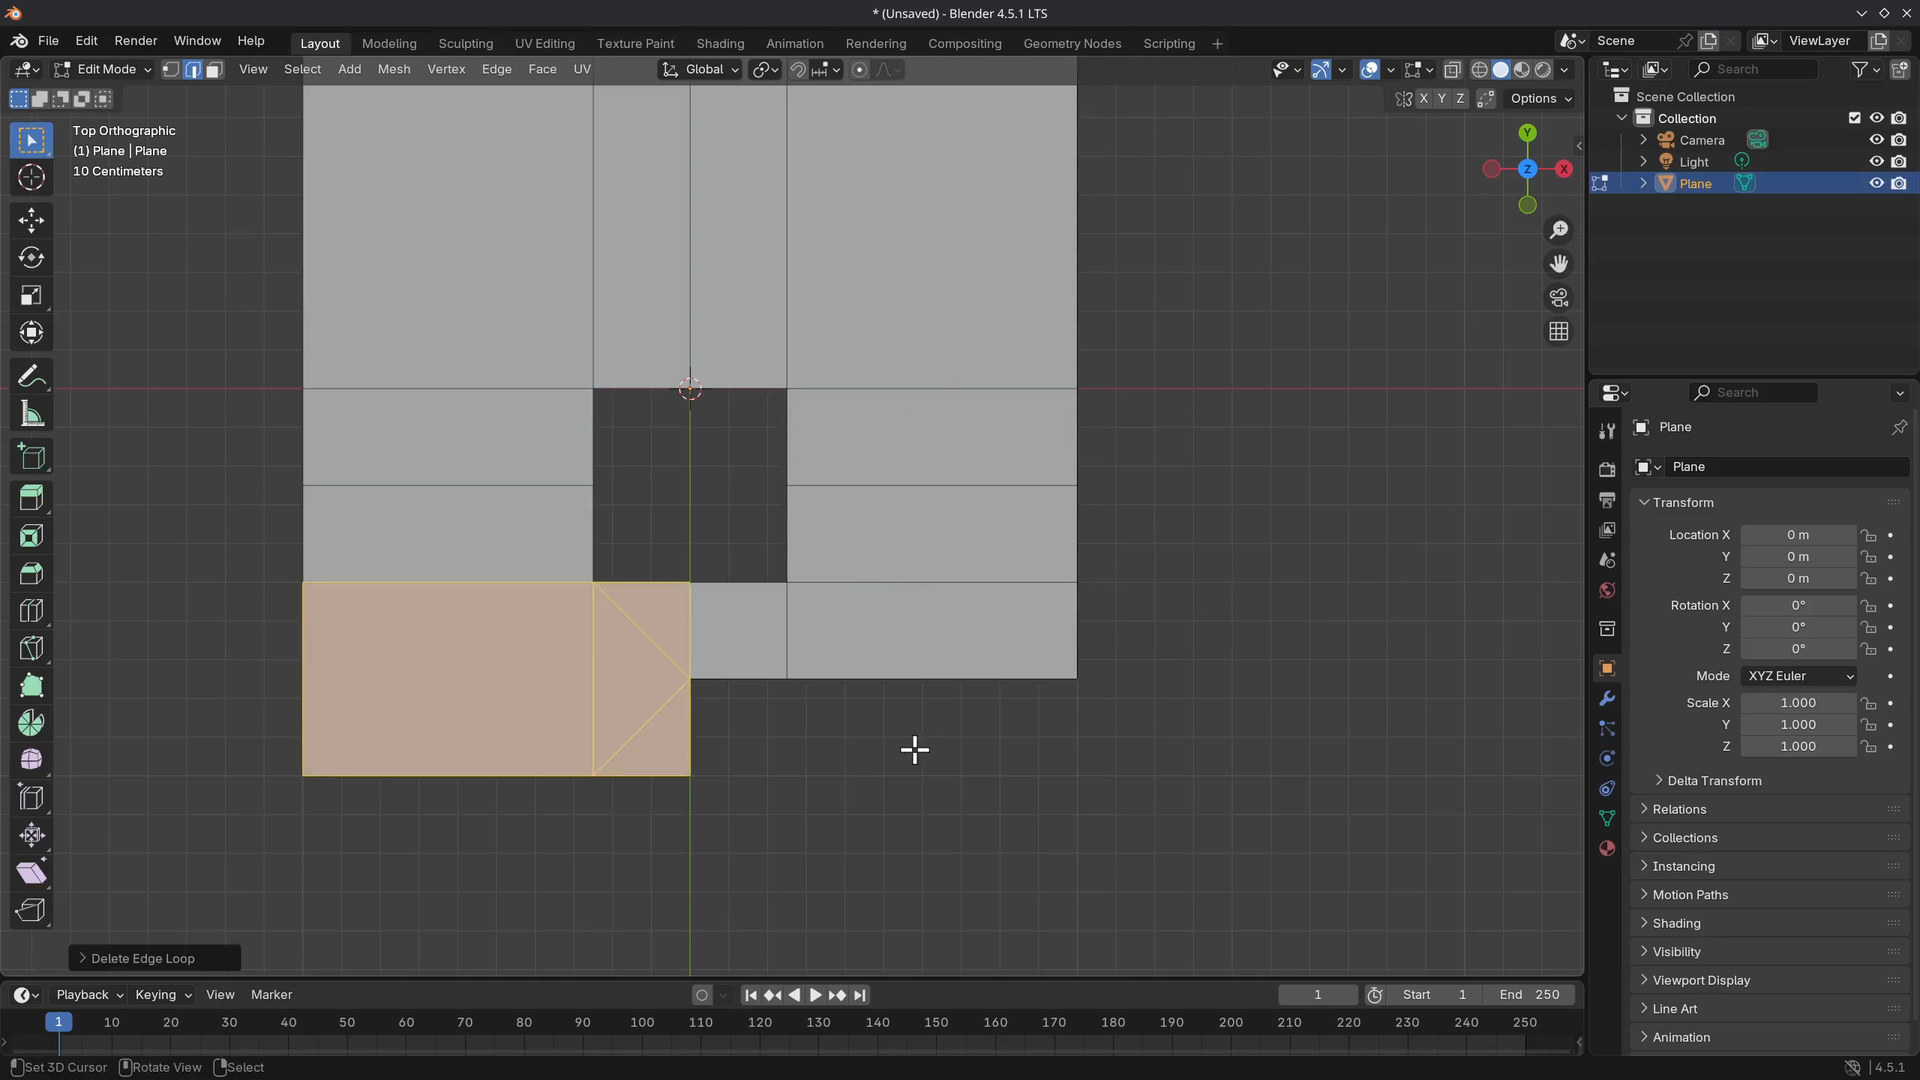
Deleting a partially selected edge loop will fill the face with triangles, as seen in the images below.
Next, we can remove any vertices or edges, but keep most of the surface intact by using X > Dissolve Vertices. The alternative is using Ctrl + X.
The last one is Collapse Edges & Faces, which acts the same as another Merging feature.
Separating & Joining
Open a new Blender File and enter Edit Mode on the default cube.
Select a single face and press P to separate. This will create a new object based on the selection (check the Outliner where we now have "Cube.001".
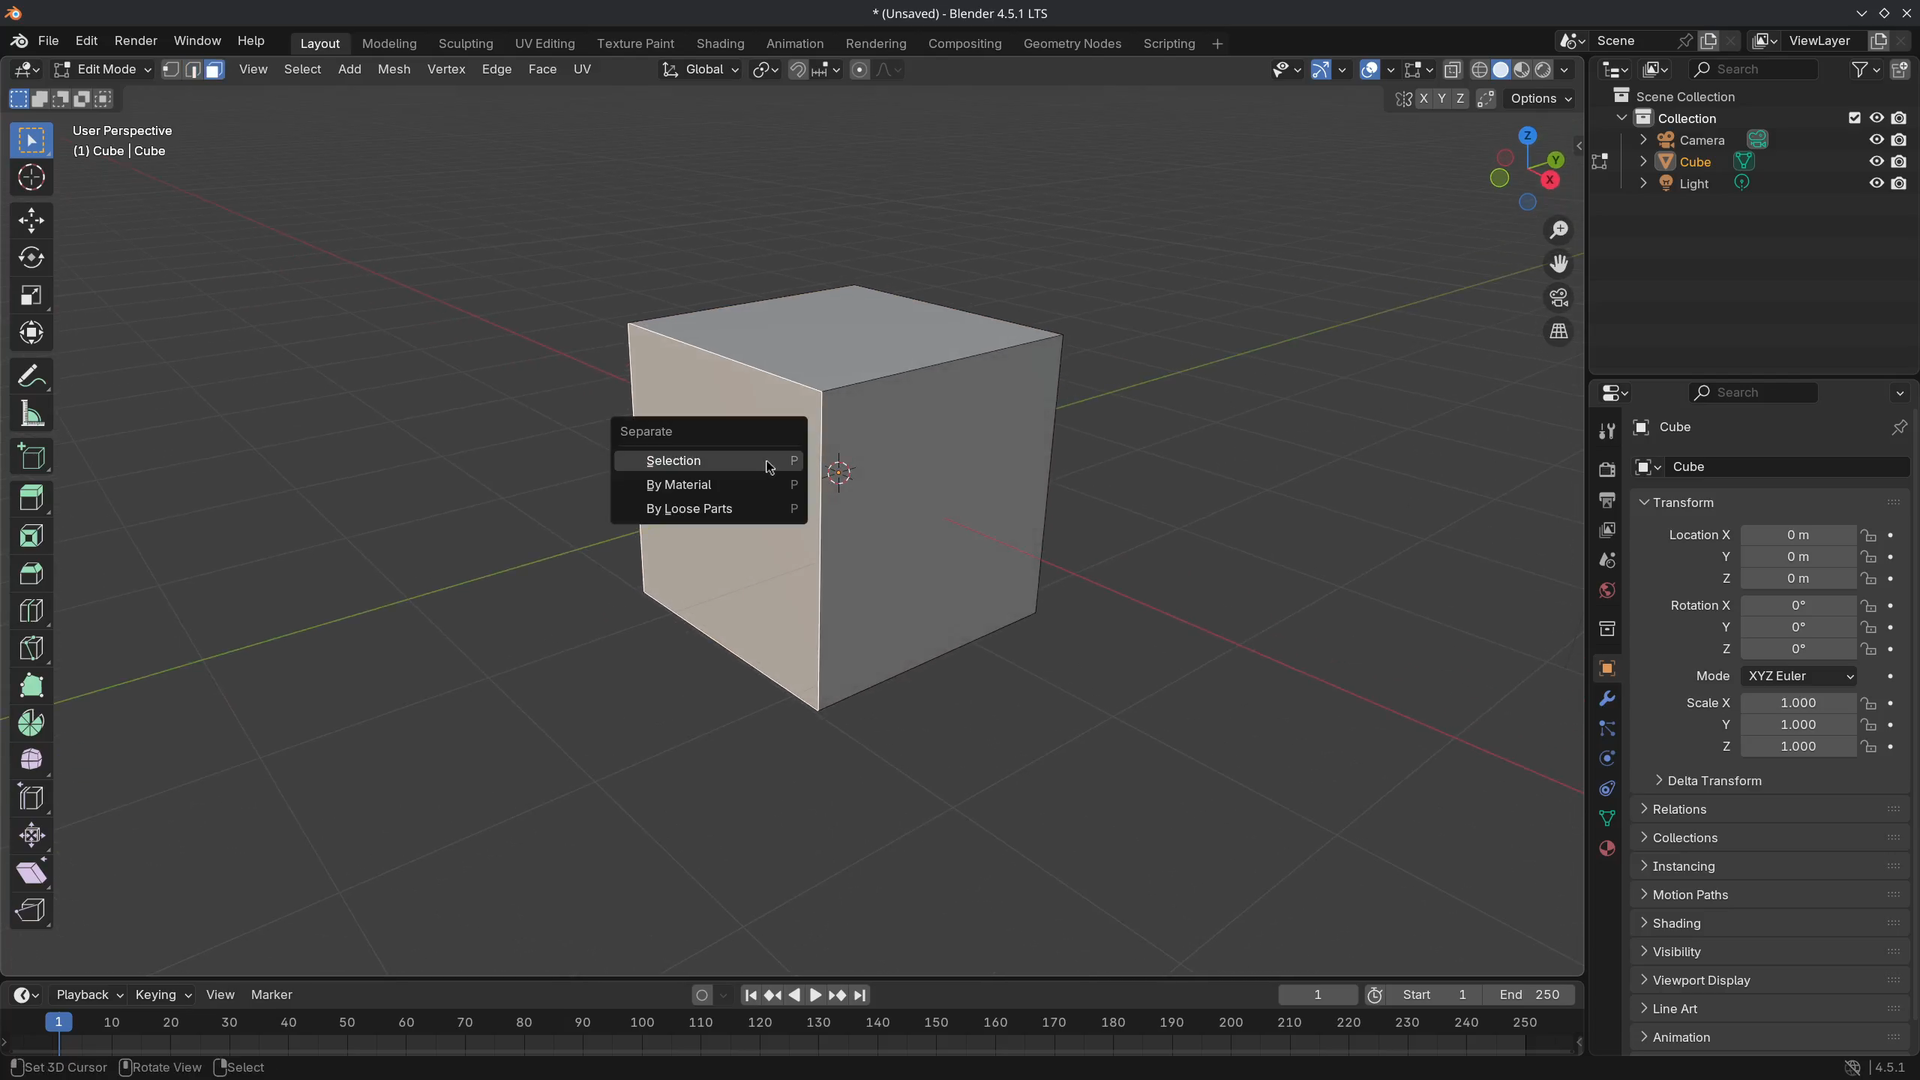

Note
How the pivot point of the cube has been copied to "Cube.001".
Separate multiple faces from the "Cube" object and move them away slightly. There should be three objects in the Outliner.
Select all three objects and join them using Ctrl + J. Based on the selection order, the last object selected is used to join the other objects and the name as well. If we were to have a different selection order, with, for instance, "Cube.001" as the last selected object, the other objects would inherit this name.
We now have three mesh "islands" in our mesh. We can separate these into their own object by going into Edit Mode > P > By Loose Parts.
Splitting
We can also start Splitting and Ripping our mesh that cuts or detaches the selection. But it keeps the selection in the mesh data without separating it into another object like separating.
Remove the cube objects and add a plane with a few subdivisions.
Select some faces and use Y to split and use G to move them aside.
Note
That after splitting, the previous vertices are not highlighted anymore (if you go into vertex selection mode)
Select an edge loop and press V to rip.
Merging
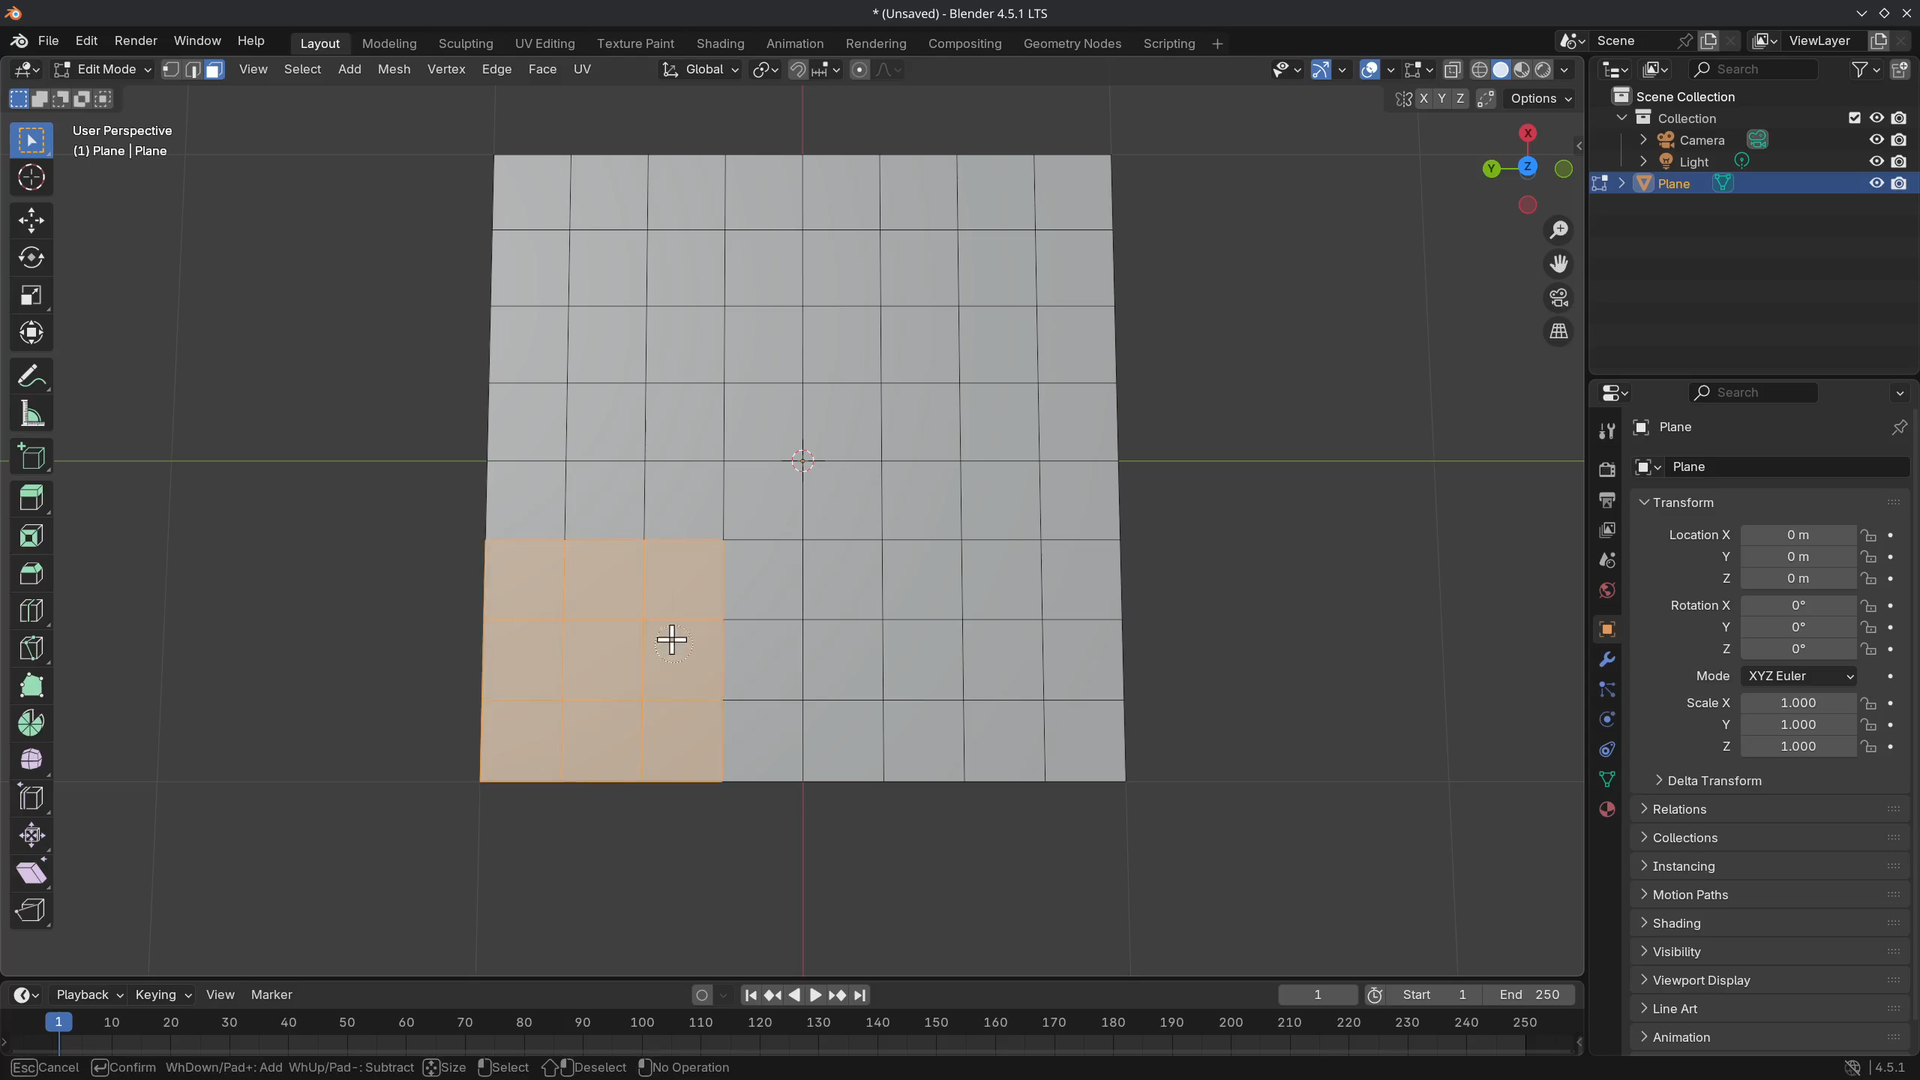
Delete the existing objects and (use Ctrl + C to center the cursor) add a Plane with subdivisions and split Y a few faces without moving the ripped pieces.
Select all by using A followed by opening the Merge menu M.
Let's first try By Distance, which is exactly what it does: it merges the vertices based on the distance between each other. Notice the notification at the bottom telling us exactly how many vertices have been merged/removed.
Increasing the distance value in the operator panel will merge more and more vertices.
Next, we will explore the rest of the Merge menu.
Select a couple of faces and split them using Y and move them aside in top view.
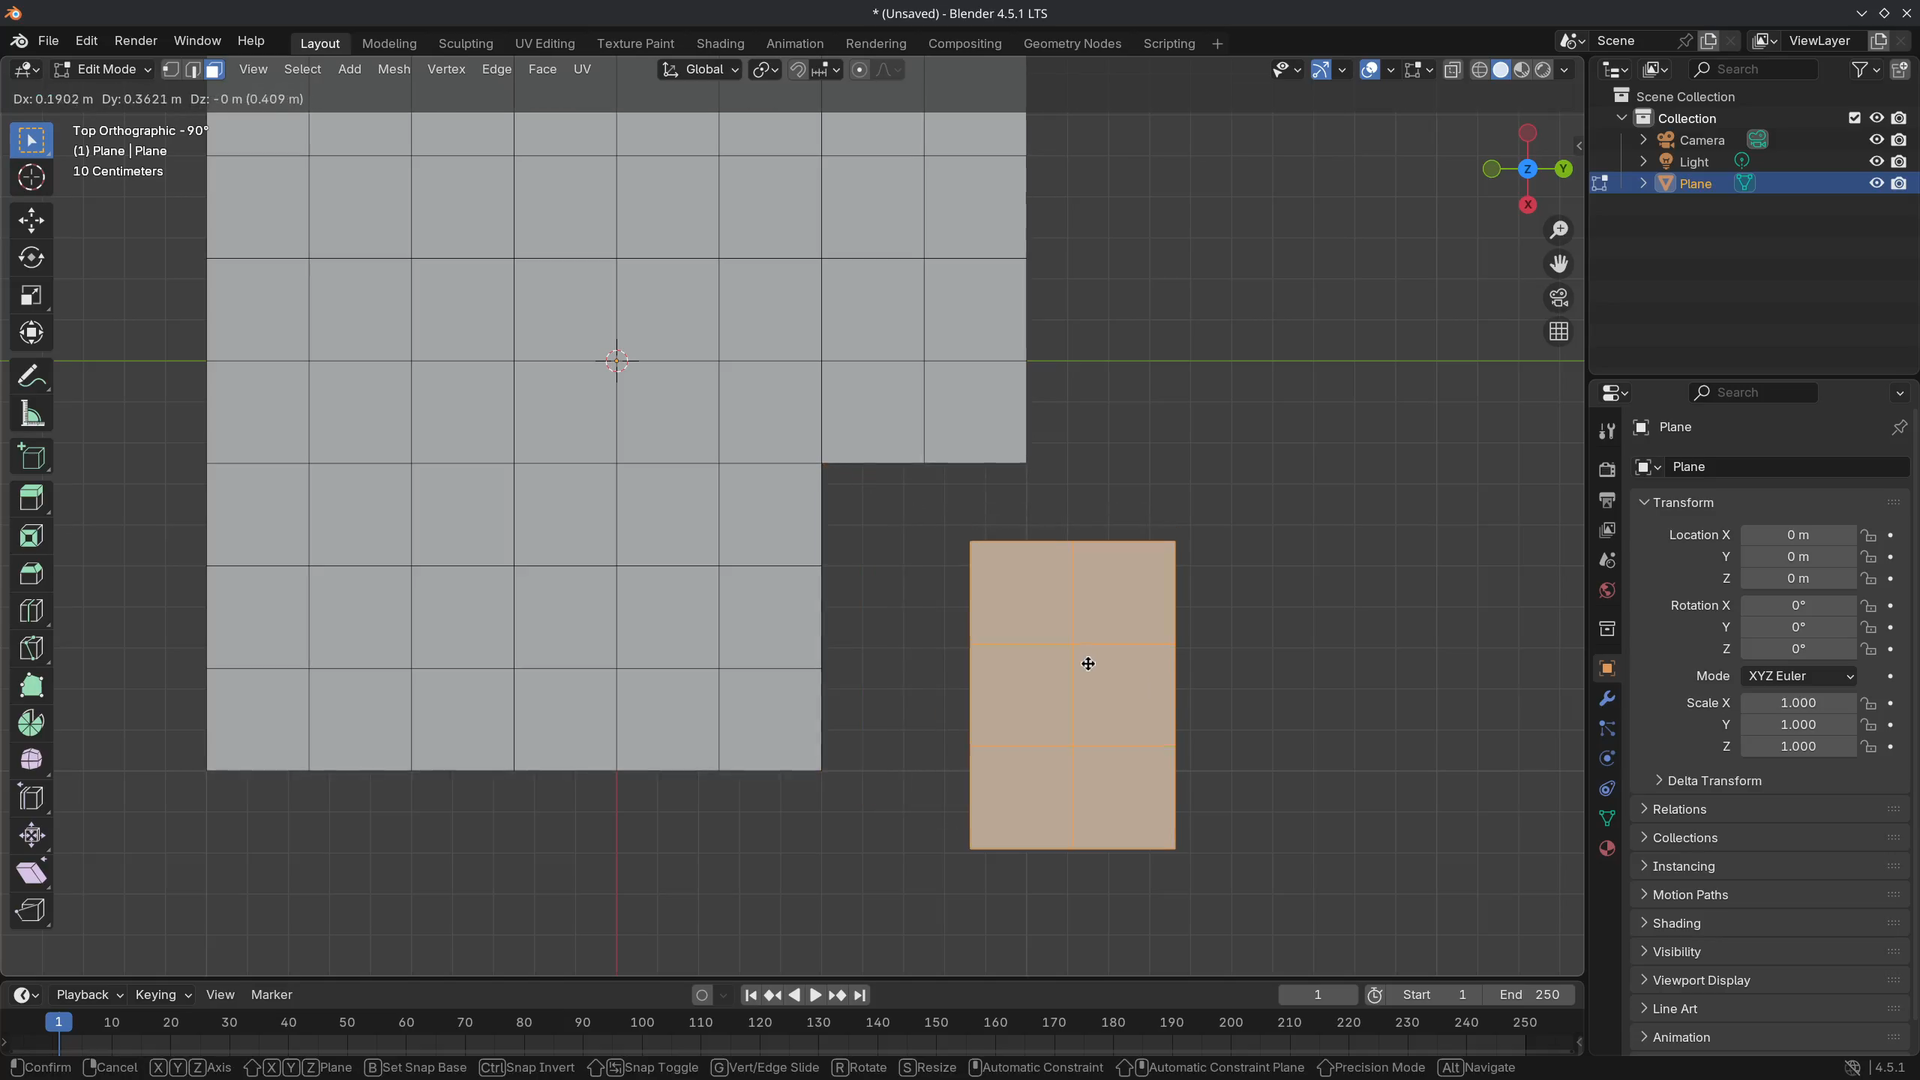
Select one vertex of the separated mesh island and one from the existing one. Open the merge menu again by using M and choose At Center. This will merge the two vertices at the center.
Undo the operation and snap the cursor to one of the vertices (Shift + S). Select the other vertex again and use M > At Cursor. This will snap and merge both of the vertices to the center of the cursor.
Undo and select an edge and open the merge menu M again to Collapse. This will merge the selection into a single point.
The next two operators are almost the same, but do the reverse of the other. Using At First or At Last, based on your selection, will merge the vertices.
For those who prefer an automated method, navigate to the Sidebar > Tool > Transform and enable Auto Merge. This can be a useful tool, but as your proficiency improves, it can become an obstacle. If you notice during modeling that parts of the mesh are unexpectedly merged, turn this option off.
Connecting
Delete the existing objects and add a new Plane with subdivisions.
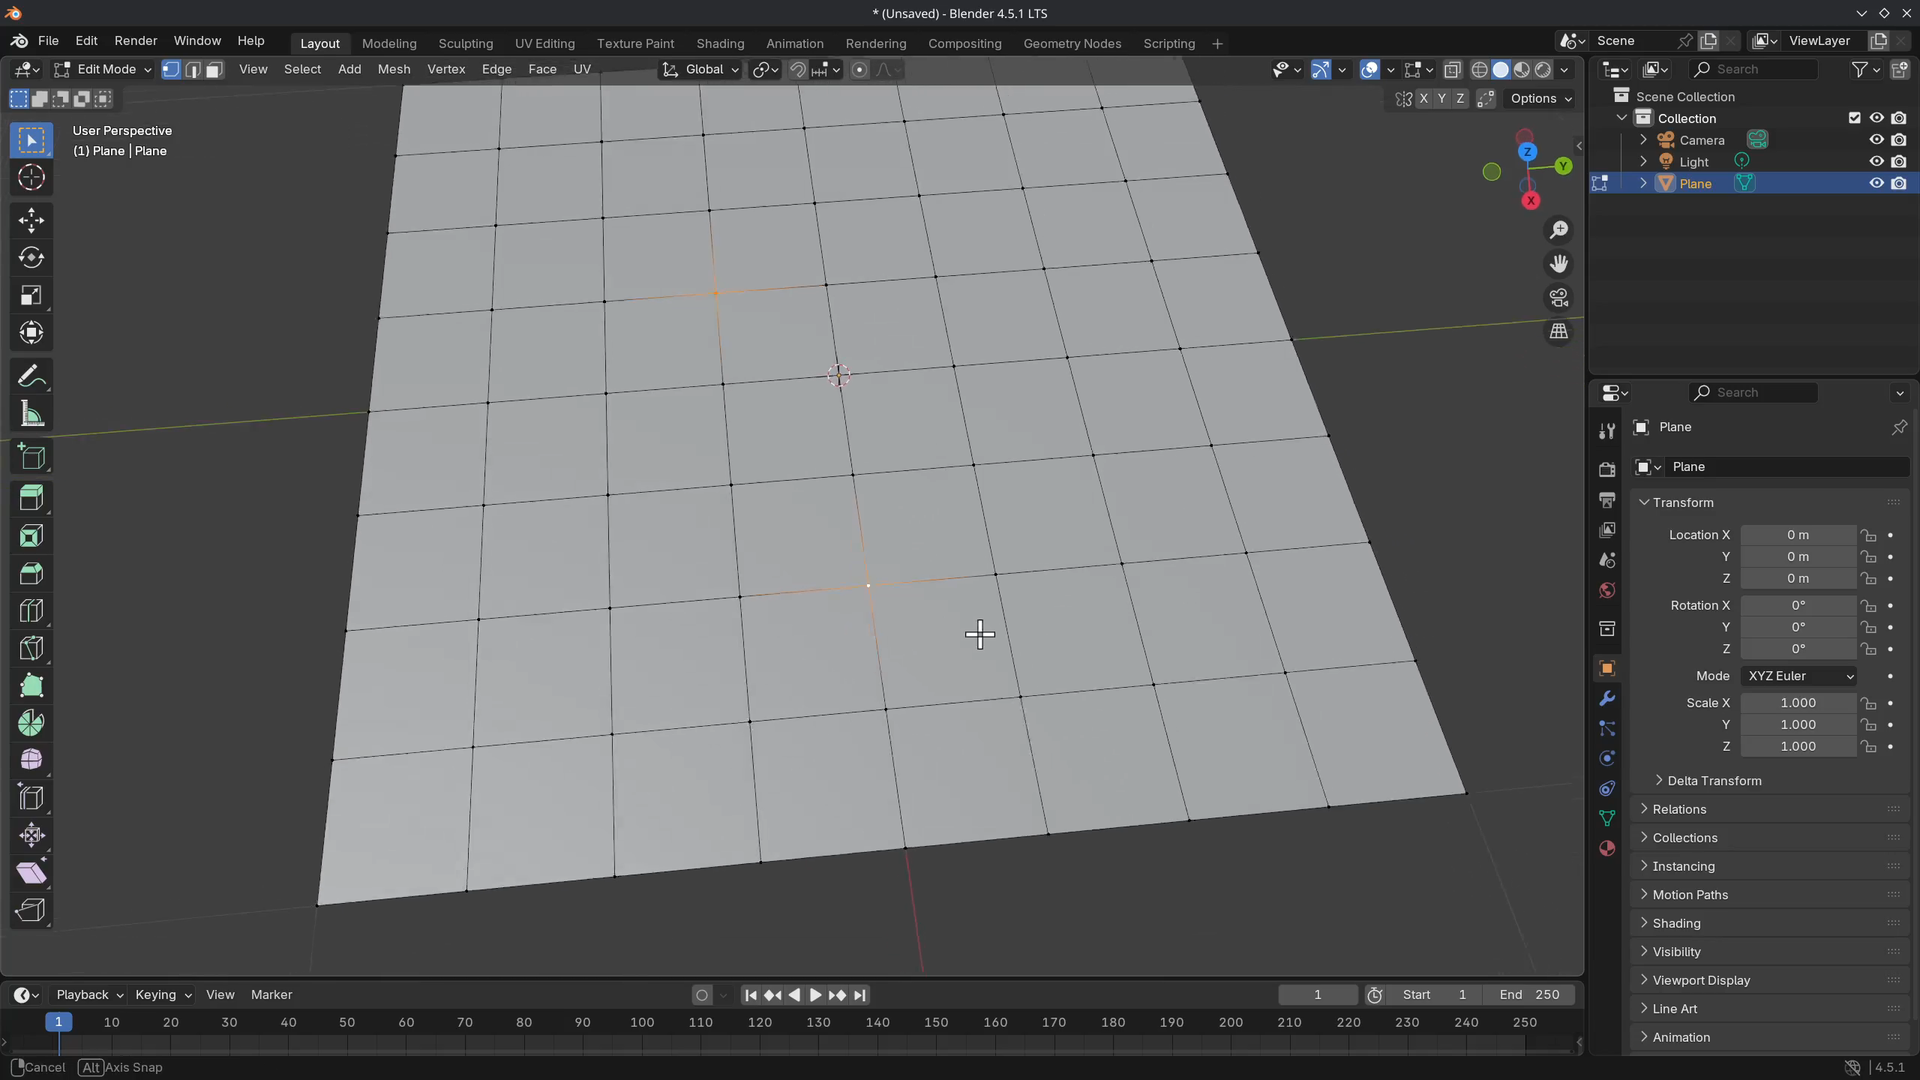
Select two vertices and press J. This will connect the selected vertices along the surface. A nice alternative for some of the Knife Topology Tool tasks.
Let's separate another island using Y.
Select two edges, one from the new mesh island and the existing mesh island. Press F to connect them. This will create a new face.
By selecting a single edge and using F (the same way as in the video) will continue to create faces.
Selecting two neighboring edges or the corner vertex to connect them, creating a triangle.
There is a useful add-on that can aid us in creating faces faster. Go to Edit > Preferences (Ctrl + ,) > Add-ons and use the search bar to look for F2.
Enable the F2 add-on by toggling the checkbox. It should enable this add-on from this point on when auto-save is enabled, which it should by default.
If we try again by selecting a single vertex and pressing F, it should create a new face that is moved automatically using the cursor. Press RMB to cancel to "snap" the vertex based on the length of the neighboring edges.
We can also use Bridge Edge Loops to connect two selections.
Remove any objects and add a cube. Enter Edit Mode and duplicate the entire cube using Shift + D. With two cubes created, select two opposing faces and use Ctrl + E (which is a selection of operators specifically for edges, even though we have faces selected) and choose Bridge Edge Loops.
Four faces have been created, and the two faces are "bridged" and connected.
Delete this object in Object Mode and add a new cube.
Go into Edit Mode and select two opposing faces and create an inset I.
Use Ctrl + E > Bridge Edge Loops to create a tunnel.
Take a look at the operator panel that offers various parameters.
Mini assignment
Recreate this sphere with everything you have learned so far, such as: deleting, ripping, filling (F), adding bevels, and bridging.
Solution
This was a lot of information to process. Please take some time to play around before going to the next lesson.
That was the end of the lesson. We have learned:
- How we can delete various elements of a mesh.
- Separating our selection (
P) and joining (Ctrl + J).- Merging our selection (
M).- connecting, creating, and bridging mesh elements (
J,F, andCtrl + E).
Join to leave a comment.