Selecting & Transform

- Free
In this section, we will learn what elements or building blocks 3D objects are built of. We will also learn how to select multiple objects, move, rotate, and scale them. And finally, talking about unit systems in Blender.
Move
Open the Toolbar T and select the Move Tool in the top left corner. The selected object has a new gizmo, which is specifically for moving the object. Use the LMB to drag the arrow to move the cube on that axis.
Note
How in the top left corner we can see the distance we moved the cube from its previous location.
The colored squares are another way to move the cube on a constrained plane. By using the blue plane, for instance, the cube will not change in height and is moved on the X and Y axes only.
Rotate
Change the Move Tool to the Rotate Tool. The gizmo changed to these colored arches, which indicate the axis the cube can be rotated. Rotating the cube shows the number of degrees the cube has been rotated in the top left corner. The white circle is able to rotate the cube in screen space. Selecting the darker part of the gizmo allows for Trackball rotation, which allows rotating the object to be rotated more freely.
Scale
Once you have explored rotating the object, we will switch to the Scale Tool. This tool is quite similar to the Move Tool to scale constrained along a plane. Use the white circle to scale the tool uniformly.
Transform
Which is the tool below the Scale Tool that allows the functionalities of almost all the previous three ones into a single tool.
Transform Shortcuts
However, there is a faster way to transform/manipulate the selection using shortcuts instead of gizmos, just like there was for viewport navigation.
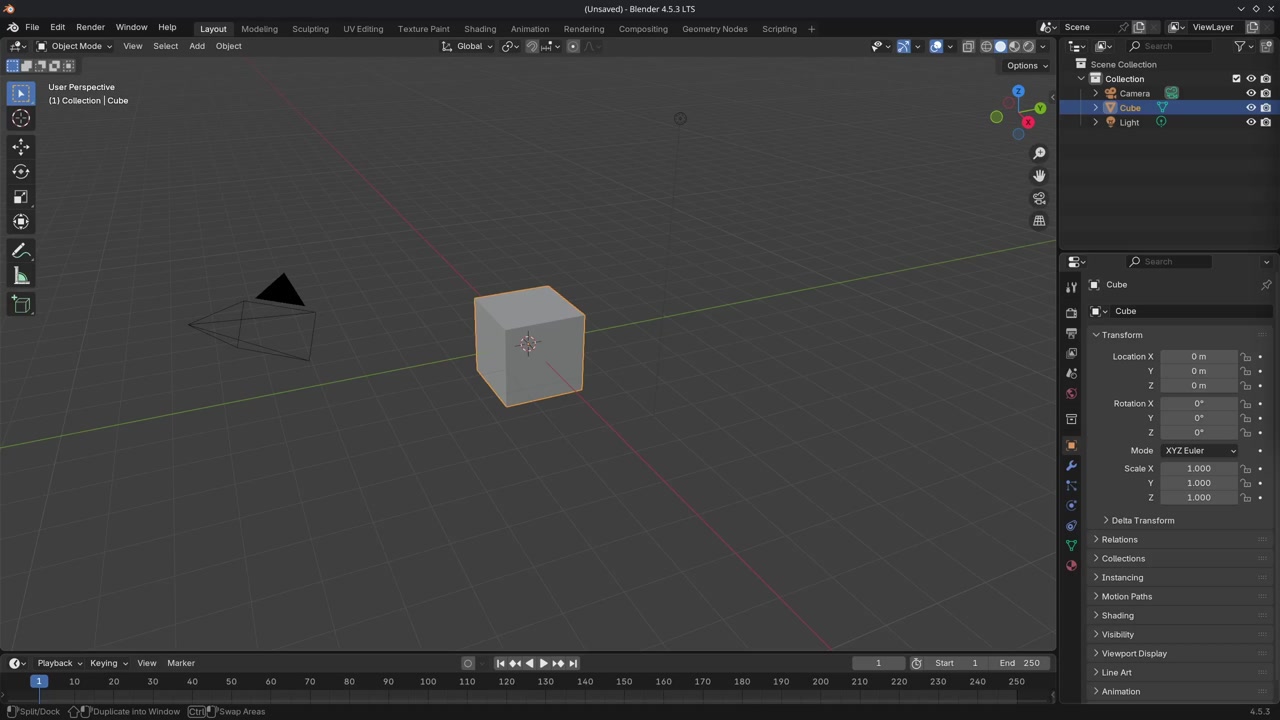
The following shortcuts can be used both in Object and Edit mode to achieve the same thing, but faster (I removed the previous cube and added a new one):
- Move by using
Gto "Grab" the selection - Scale by using
S - Rotate by using
Rand usingR+R(R twice) for Trackball rotation
After pressing one of the shortcuts, you can constrain it to an axis like the previous method. To move the selection, simply press G followed by any axis, such as X, to only change the selection on the X-axis.
You can change the axis again after pressing another. Once you are satisfied with the transformation, use LMB to confirm. You can cancel the operation using the RMB or pressing Esc.
Play around and get used to these shortcuts. These shortcuts work in other editors in Blender too, which makes them an essential part of the Blender workflow.
Tip
Holding Shift while transforming will allow smaller steps between values
Transform Orientations
So far, we have been using the Global Transform Orientation to move, rotate, and scale. But, there are other orientations that can be useful.
Use the default cube and go to the top right corner and enable the Move Viewport Gizmo. This will enable the Move gizmo to be visible as long as this option is toggled.
Rotate the cube 45 degrees or more on the Z axis. By pressing Z and typing 45.
Go to the Transform Orientations and switch to Local. Notice how the Move gizmo is now oriented and aligned with the cube. This is because we transformed the cube "locally".
Now, reset the transformations of the cube, setting it to zero by opening the Sidebar N, selecting one of the parameters and typing either 0 or using Backspace (hovering the cursor above it) to reset all three parameters simultaneously.
Rotate the cube again, but this time do it in Edit Mode using the Local orientation. Notice how the gizmo isn't aligned anymore. We can fix this by switching to Normal.
Optional: Unit System
Units in Blender have three options:
- None, which is basically metric behind the scenes without showing metric units
- Metric system
- Imperial system
Depending on your goals, whether it is Architectural Visualization, 3D printing, or creating low-poly art, you can decide if you like to work in real-world units. For this course, we use Metric with Separate Units enabled to make it easier to differentiate between larger and smaller values.
If you want to enable a specific unit system, follow these steps:
Close Blender if you have it open and open a new Blender instance.
Go to the Scene Properties and open the Units tab. Choose your Unit System and any other options you want to enable
Then, finally go to the top left corner File > Defaults > Save Startup File, you will get a prompt asking if you want to confirm the changes and choose Overwrite. Any other changes you have made -- even orbiting around an empty scene or adjusting windows - will be saved too.
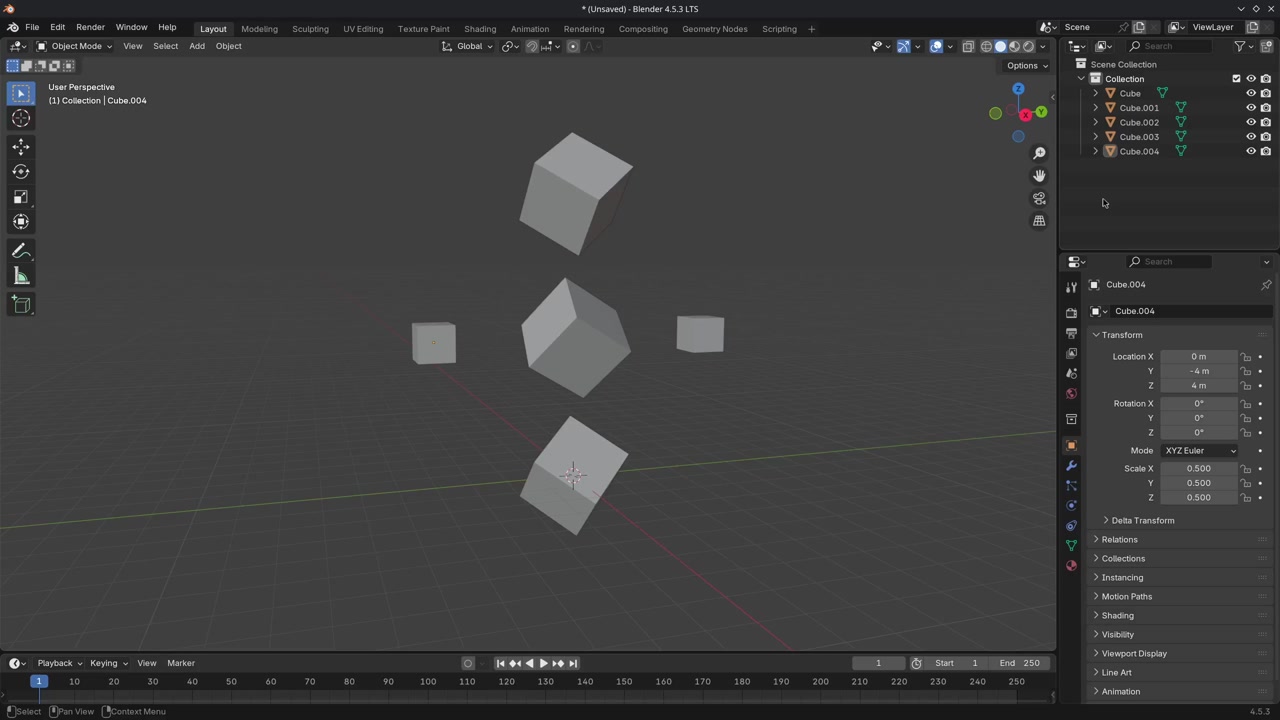
Mini assignment
Try to recreate this with transforming and duplicating cubes.
Solution
This was a lot of information; take some time to play around. We will use most of these tools in the next sections.
That was the end of the lesson. We have learned:
- Selecting objects.
- How to transform objects using the Move, Rotate, & Scale tools.
- How to transform the selection using
G,S, andR-shortcuts.- What Transform Orientations are and how they can be used.
- Change the unit system of Blender and create a Startup File.
Join to leave a comment.